
This post describes how to create a fence using the built-in fence constructor. Presentation video.
Prepare 3D models
You need to prepare 3D models, this post does not describe how to import 3D models.
We have two meshes for post and panel of the fence. The post is a point on the curve of the fence, the panel is the barrier between points.
- The meshes must be aligned along X axis.
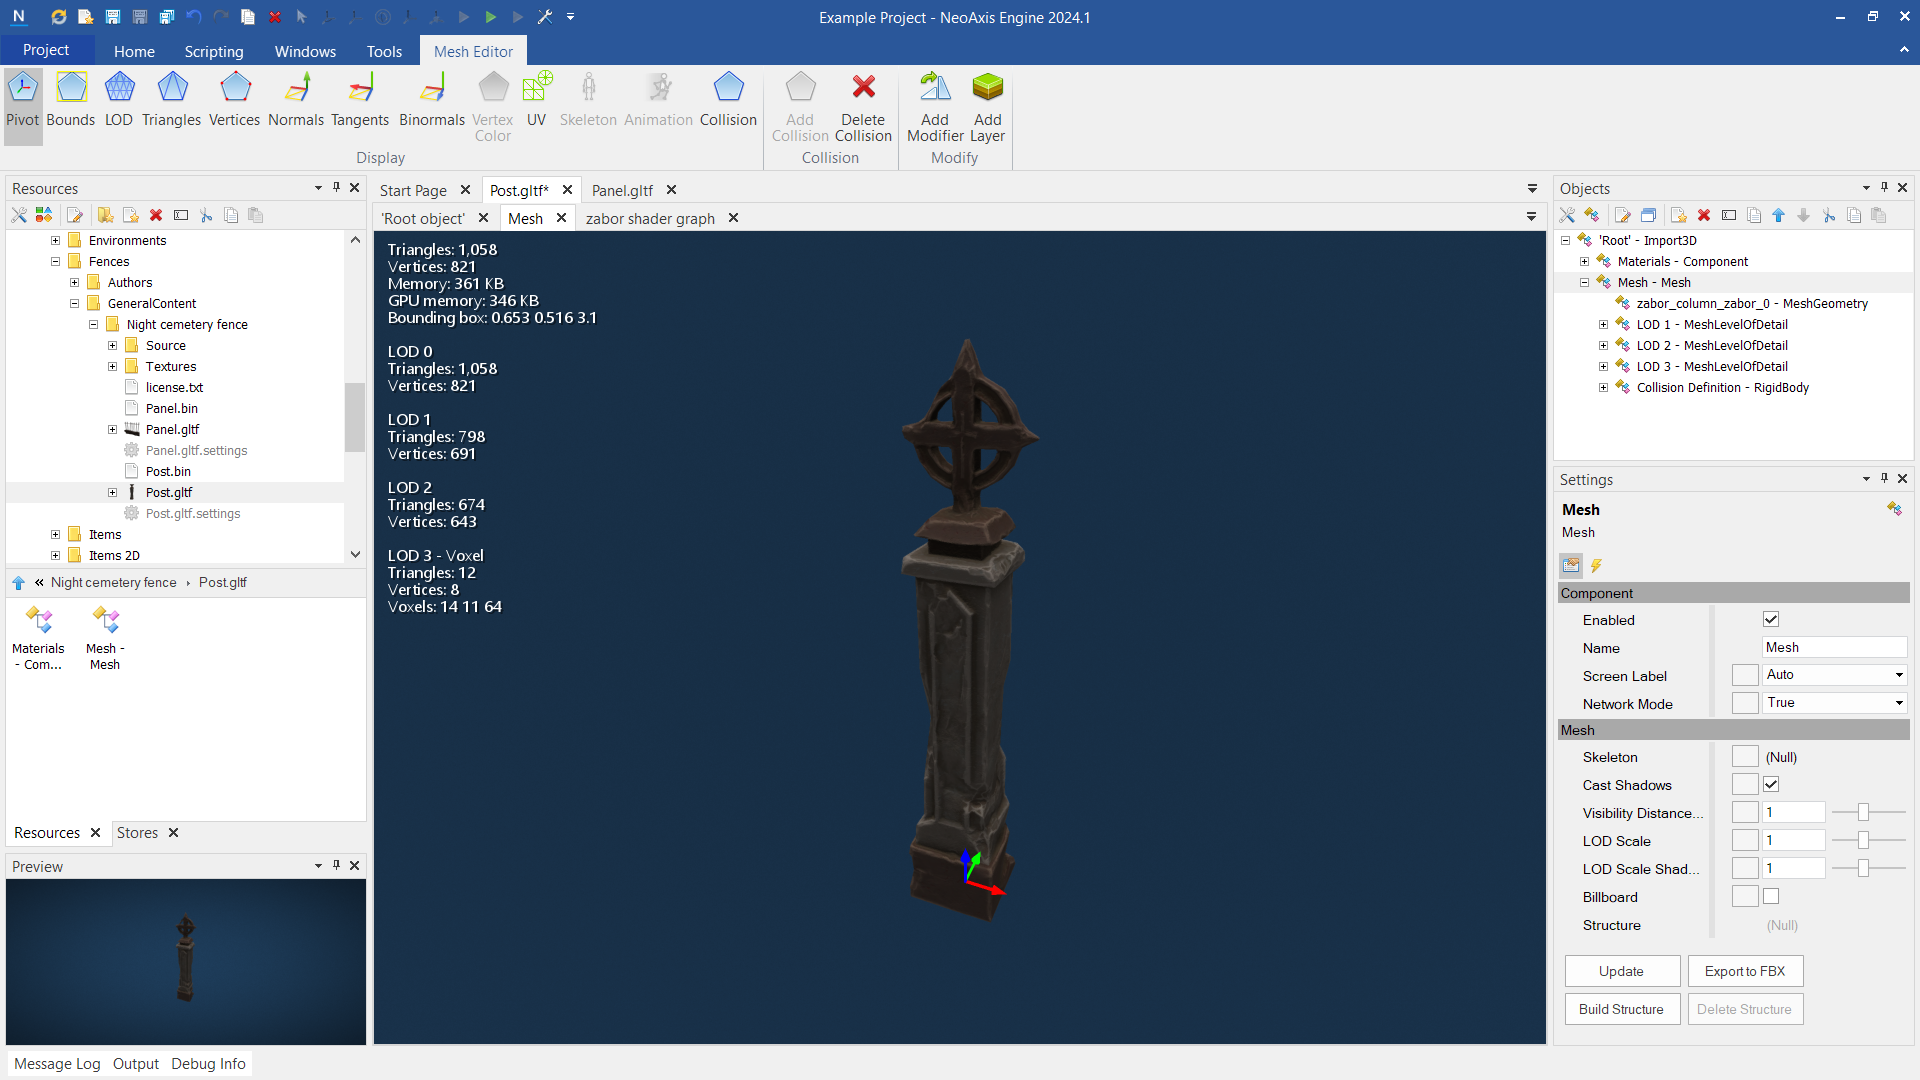
- The pivot of the post must be on the center bottom.
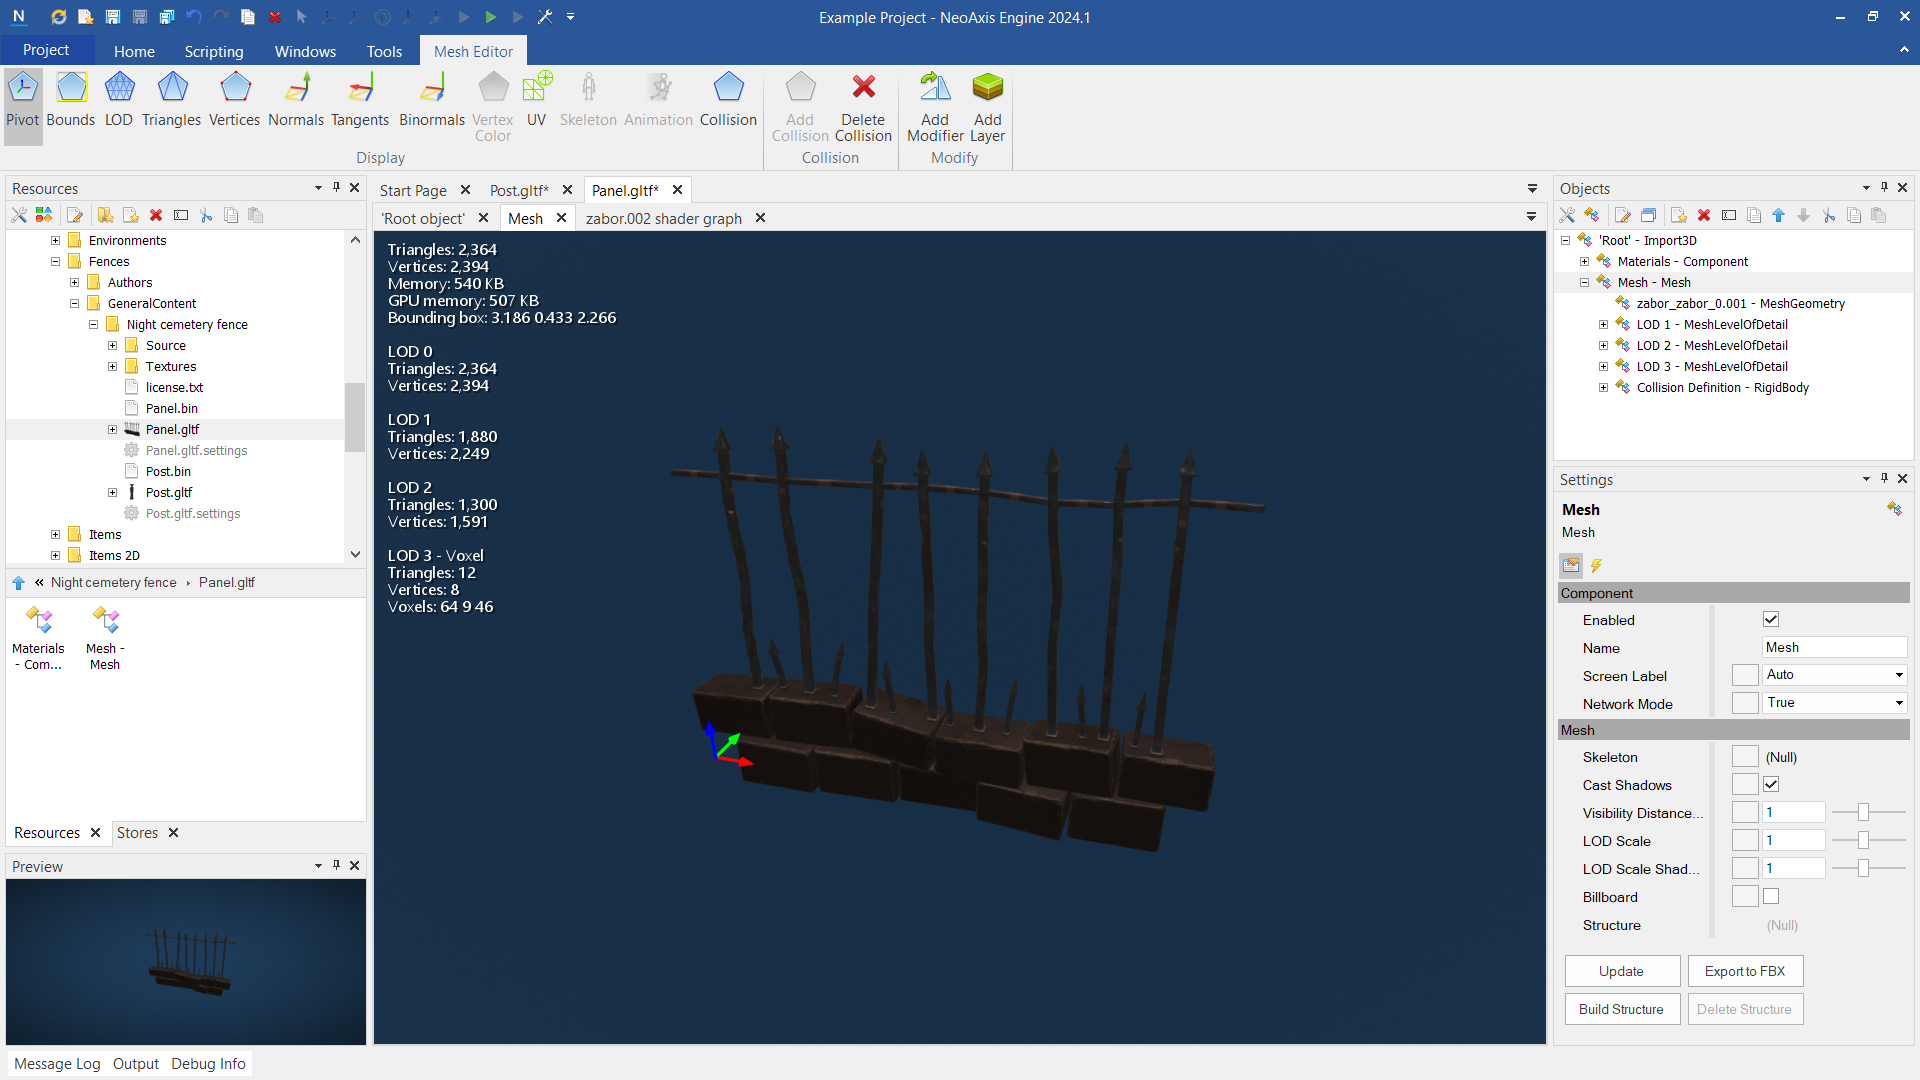
- The pivot of the panel must be on the side bottom.
The post:
The panel:
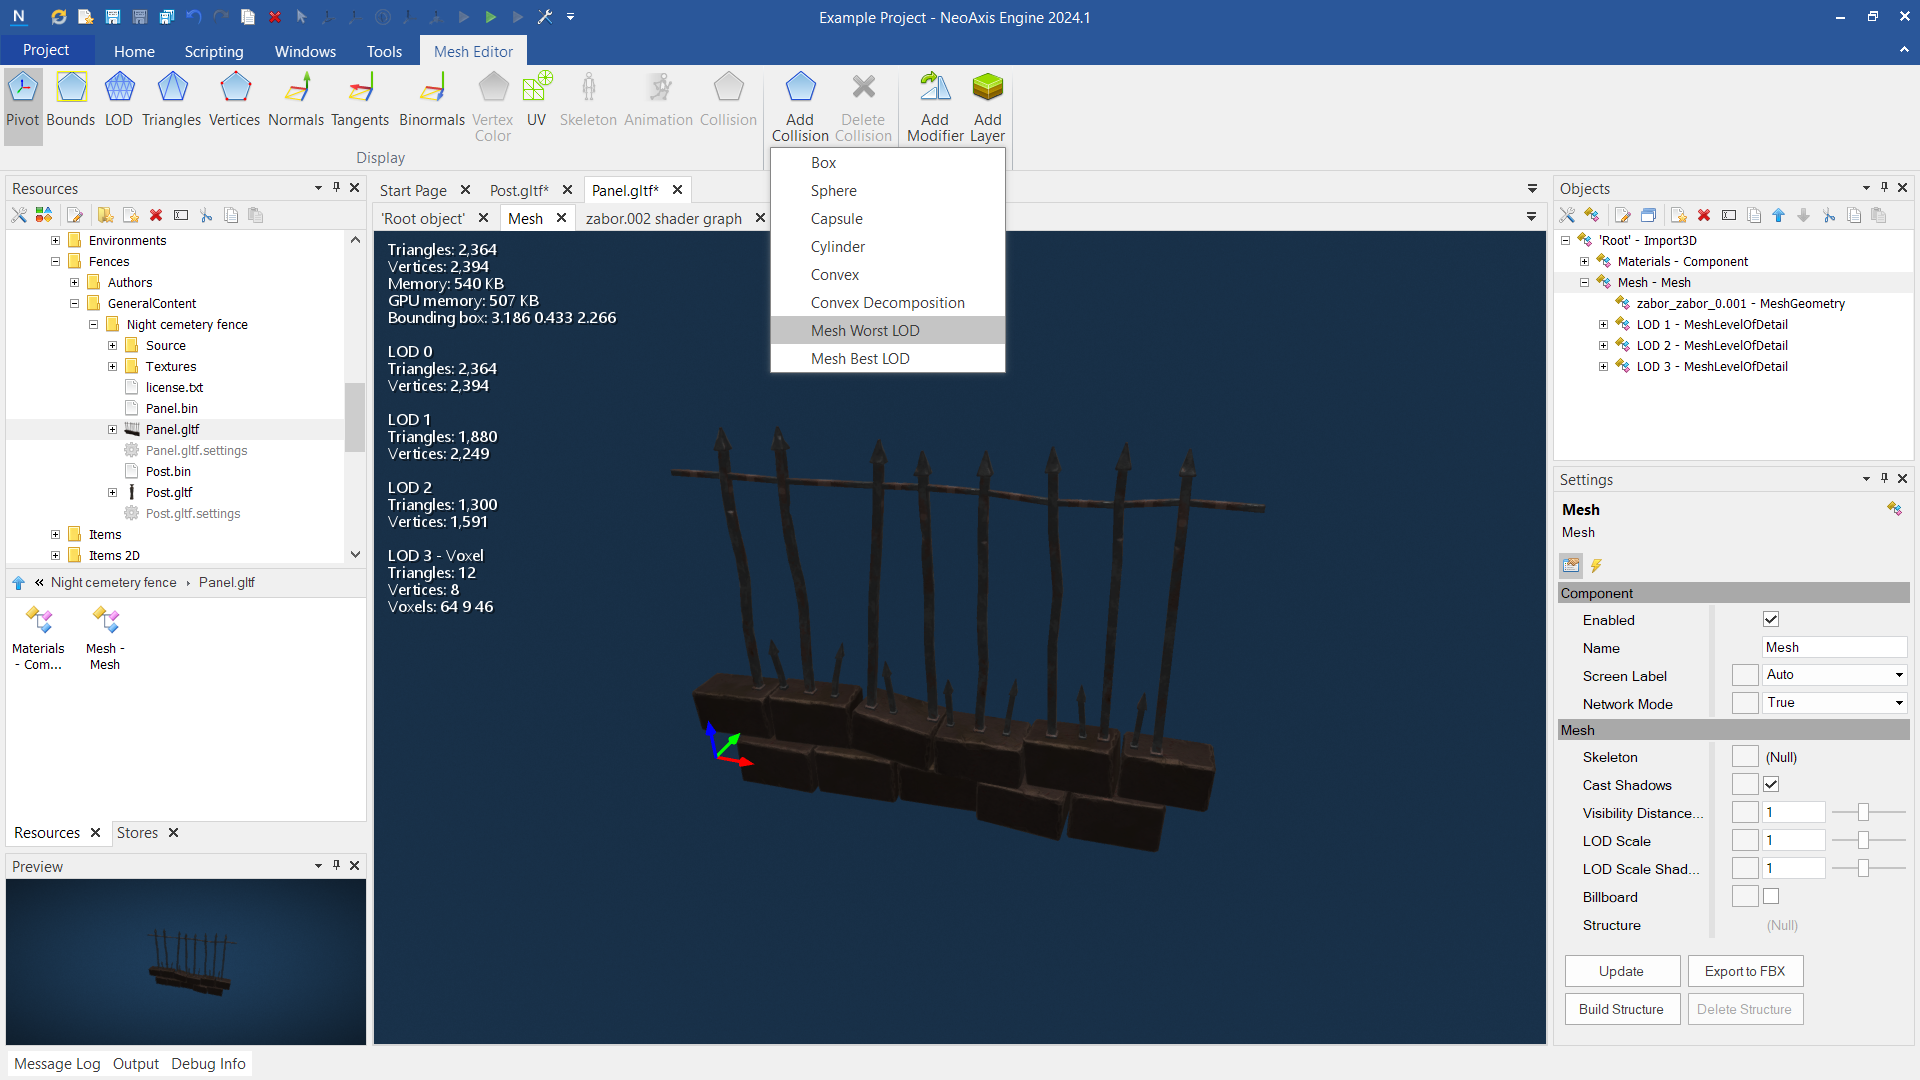
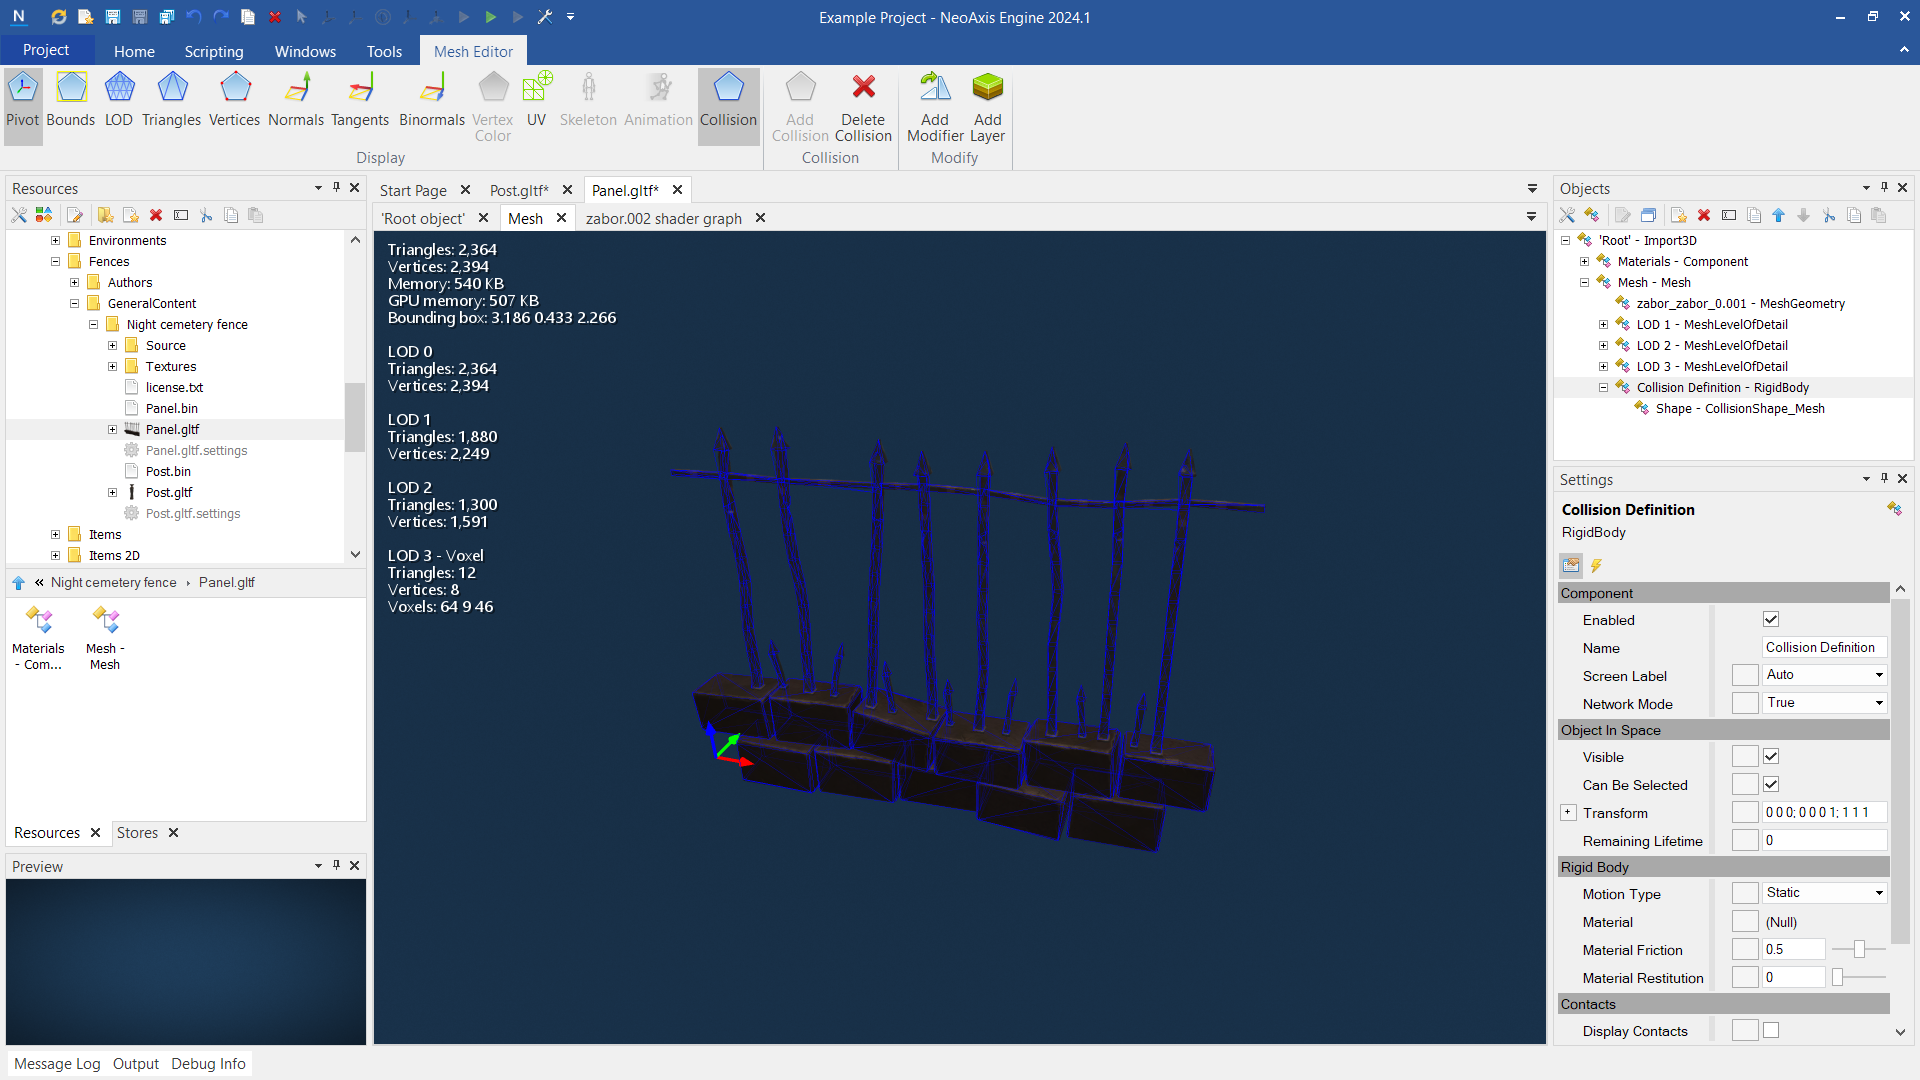
Configure collision bodies. Because the fence is not solid, to a collision body the Mesh Worst LOD mode is used.
Read more about collision bodies.
Configure fence type
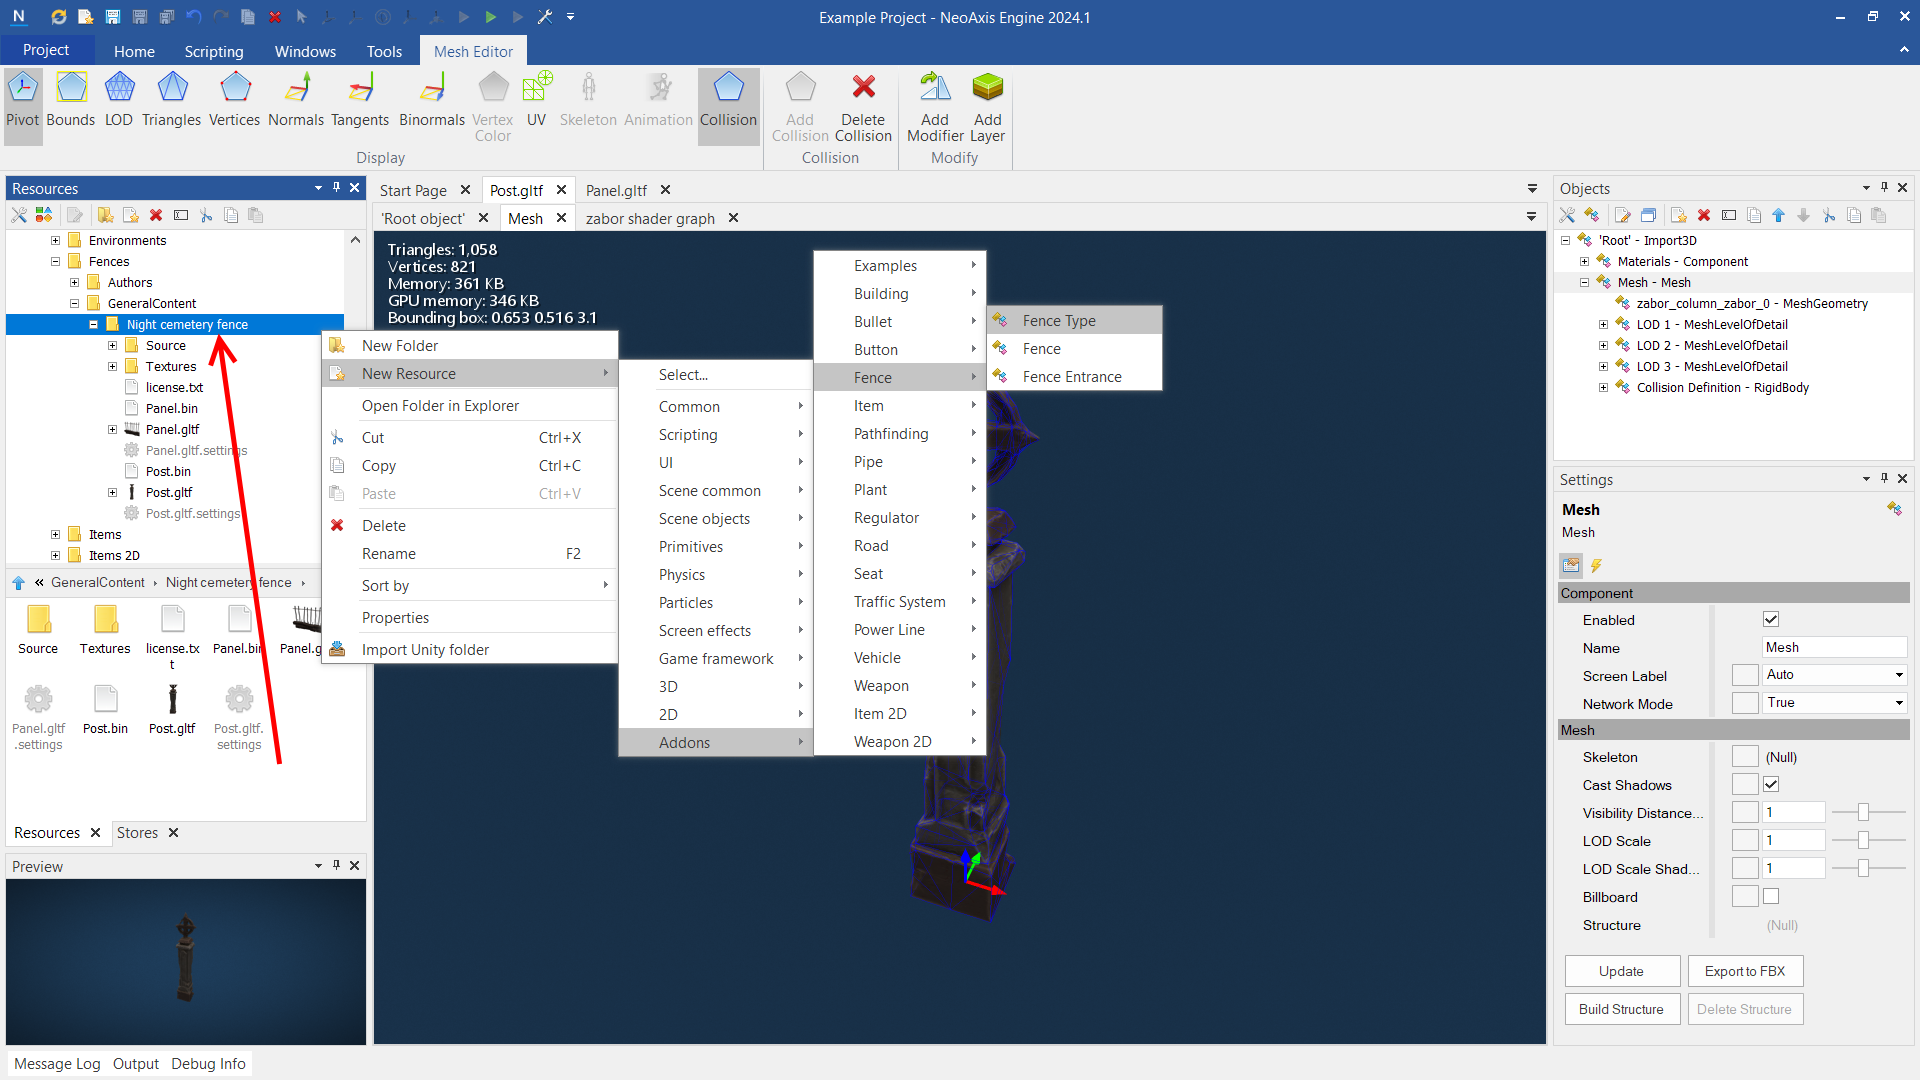
To create a new fence type, select the destination folder in the Resources window, click the right mouse button to open the context menu. Go to New Resource -> Addons -> Fence -> Fence Type.
In New Object dialog specify the name of the fence type. Click Create and Close button.
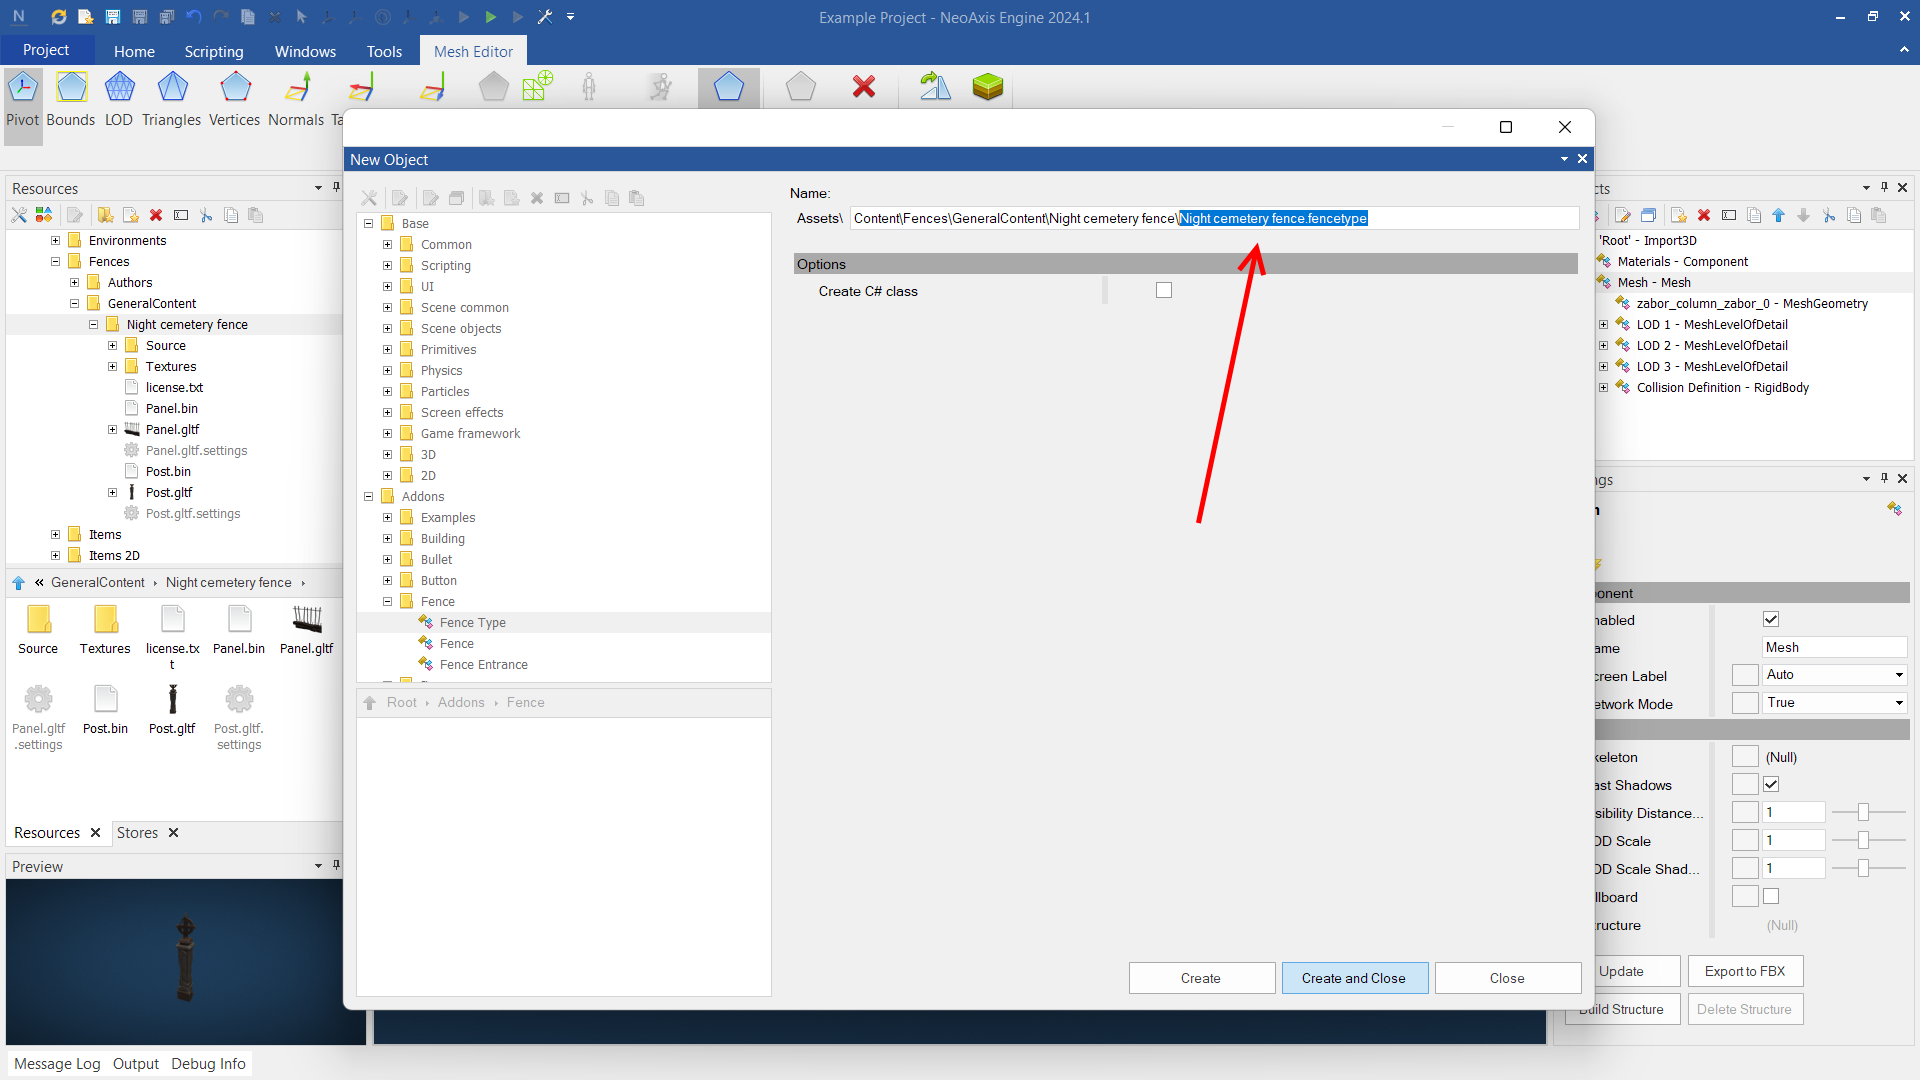
You will see a new created file in the Resources window.
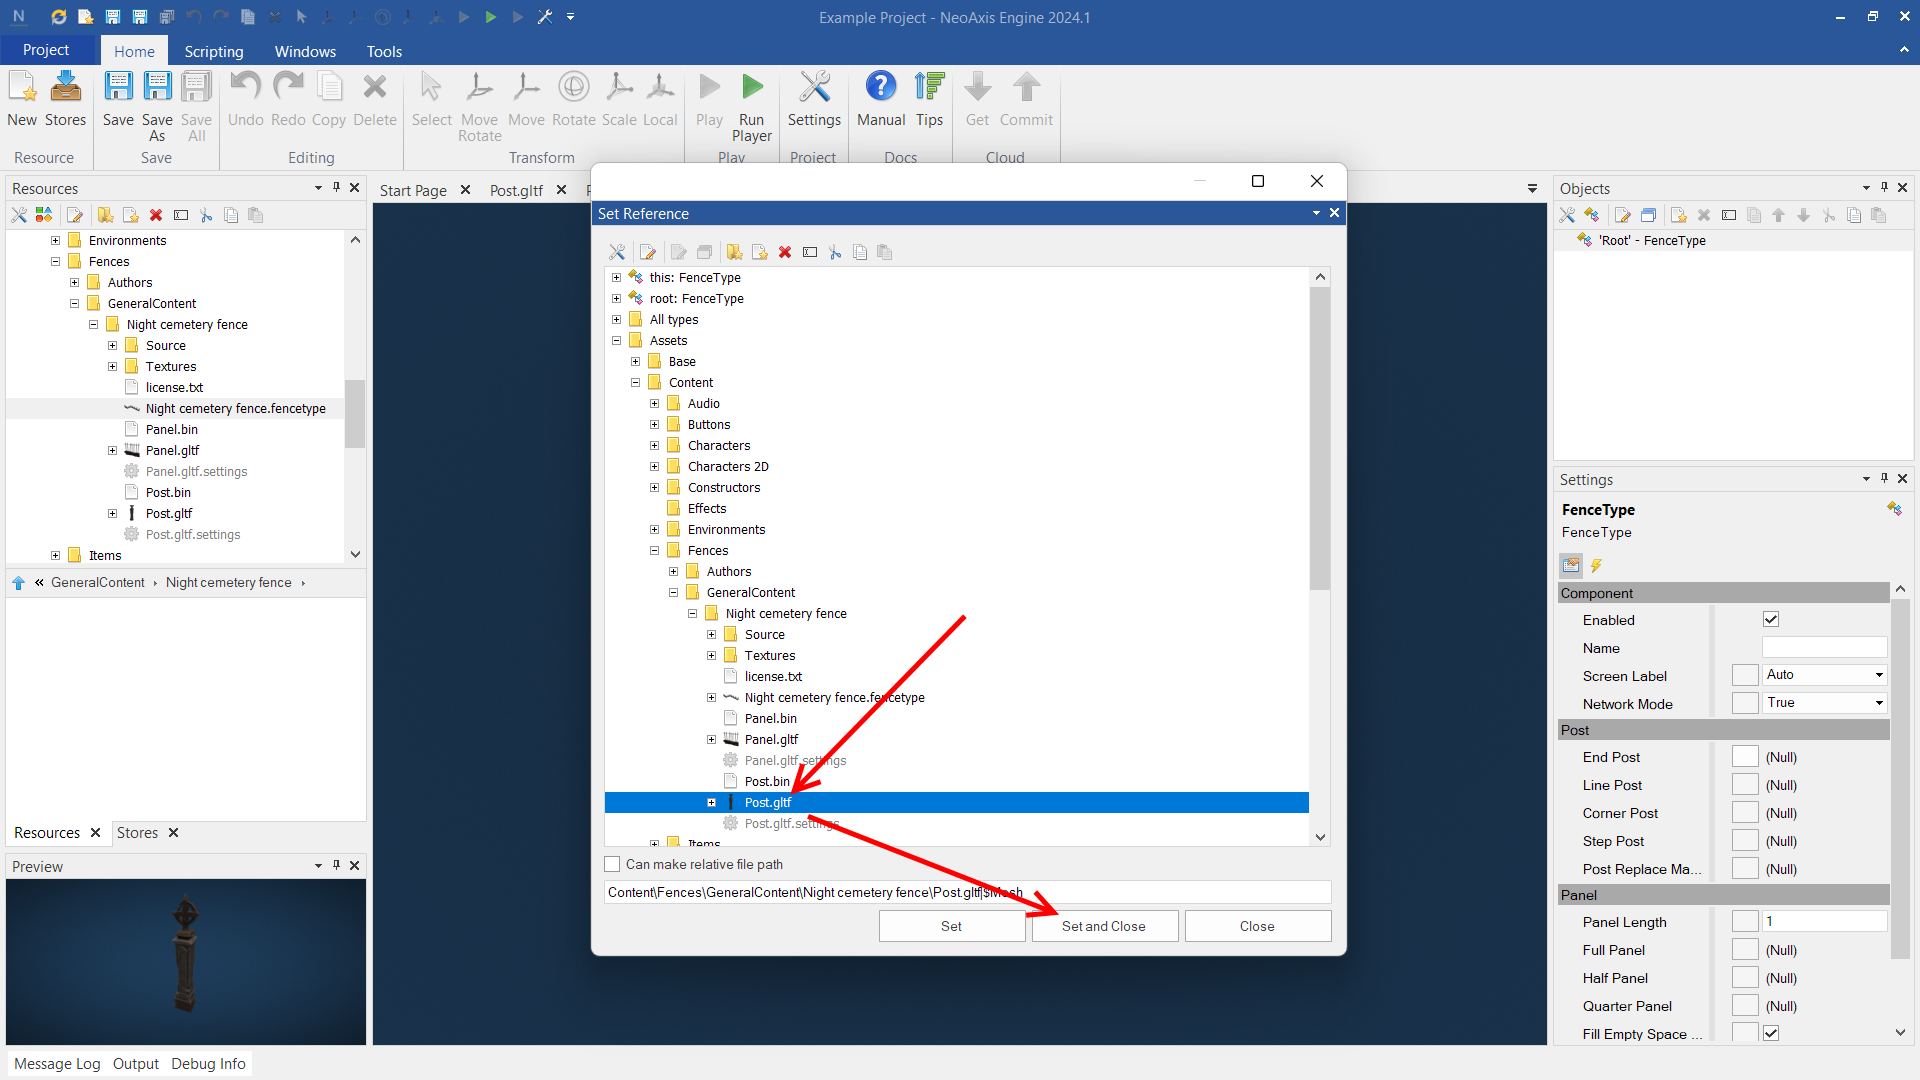
At the right, in the Settings window, click on the Reference button for End Post property.

In the opened window select Post.gltf, click Set and Close button.
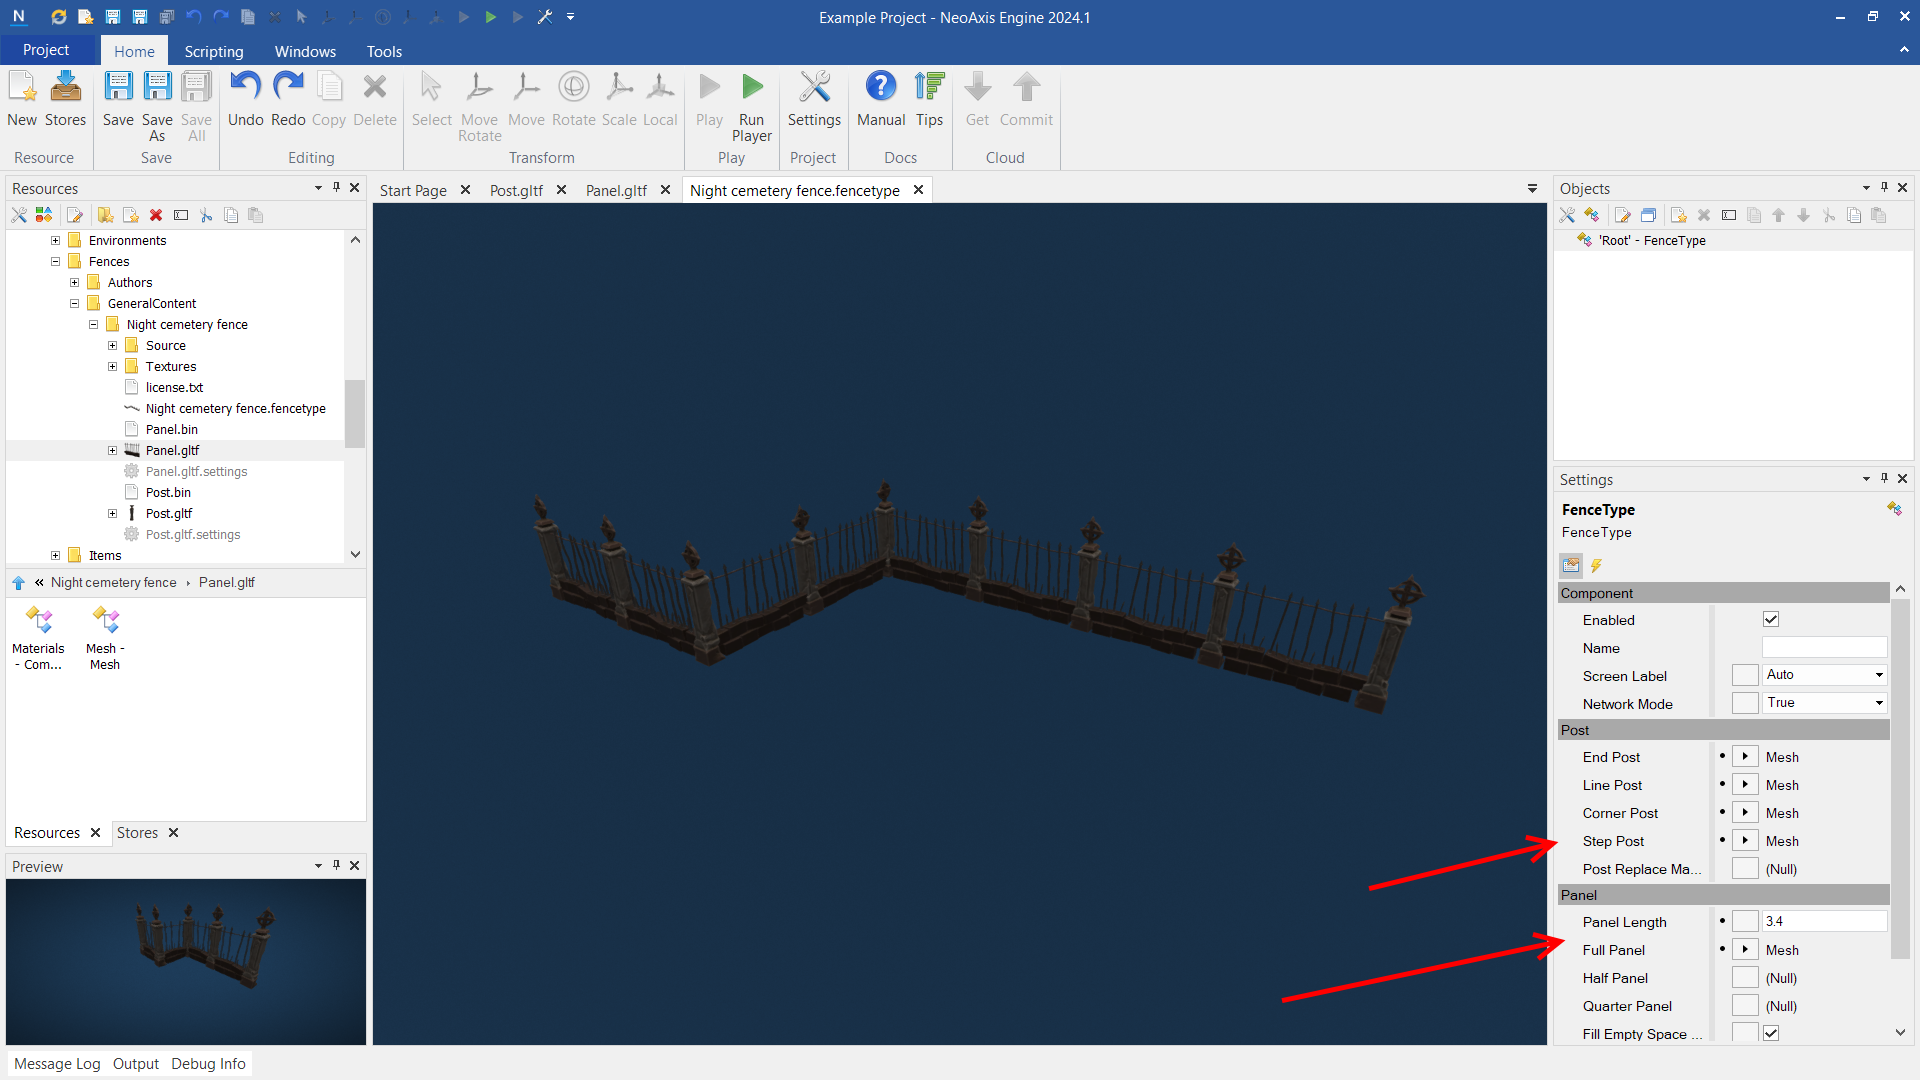
You will see the meshes in the workspace. Configure other properties Line Post, Corner Post, Step Post. Set all to Post.gtlf.

Next, configure panel mesh by means Full Panel property and the length of the panel by means Panel Length property.
Click Save, now the type is ready to be placed in the scene.
Placing in the scene
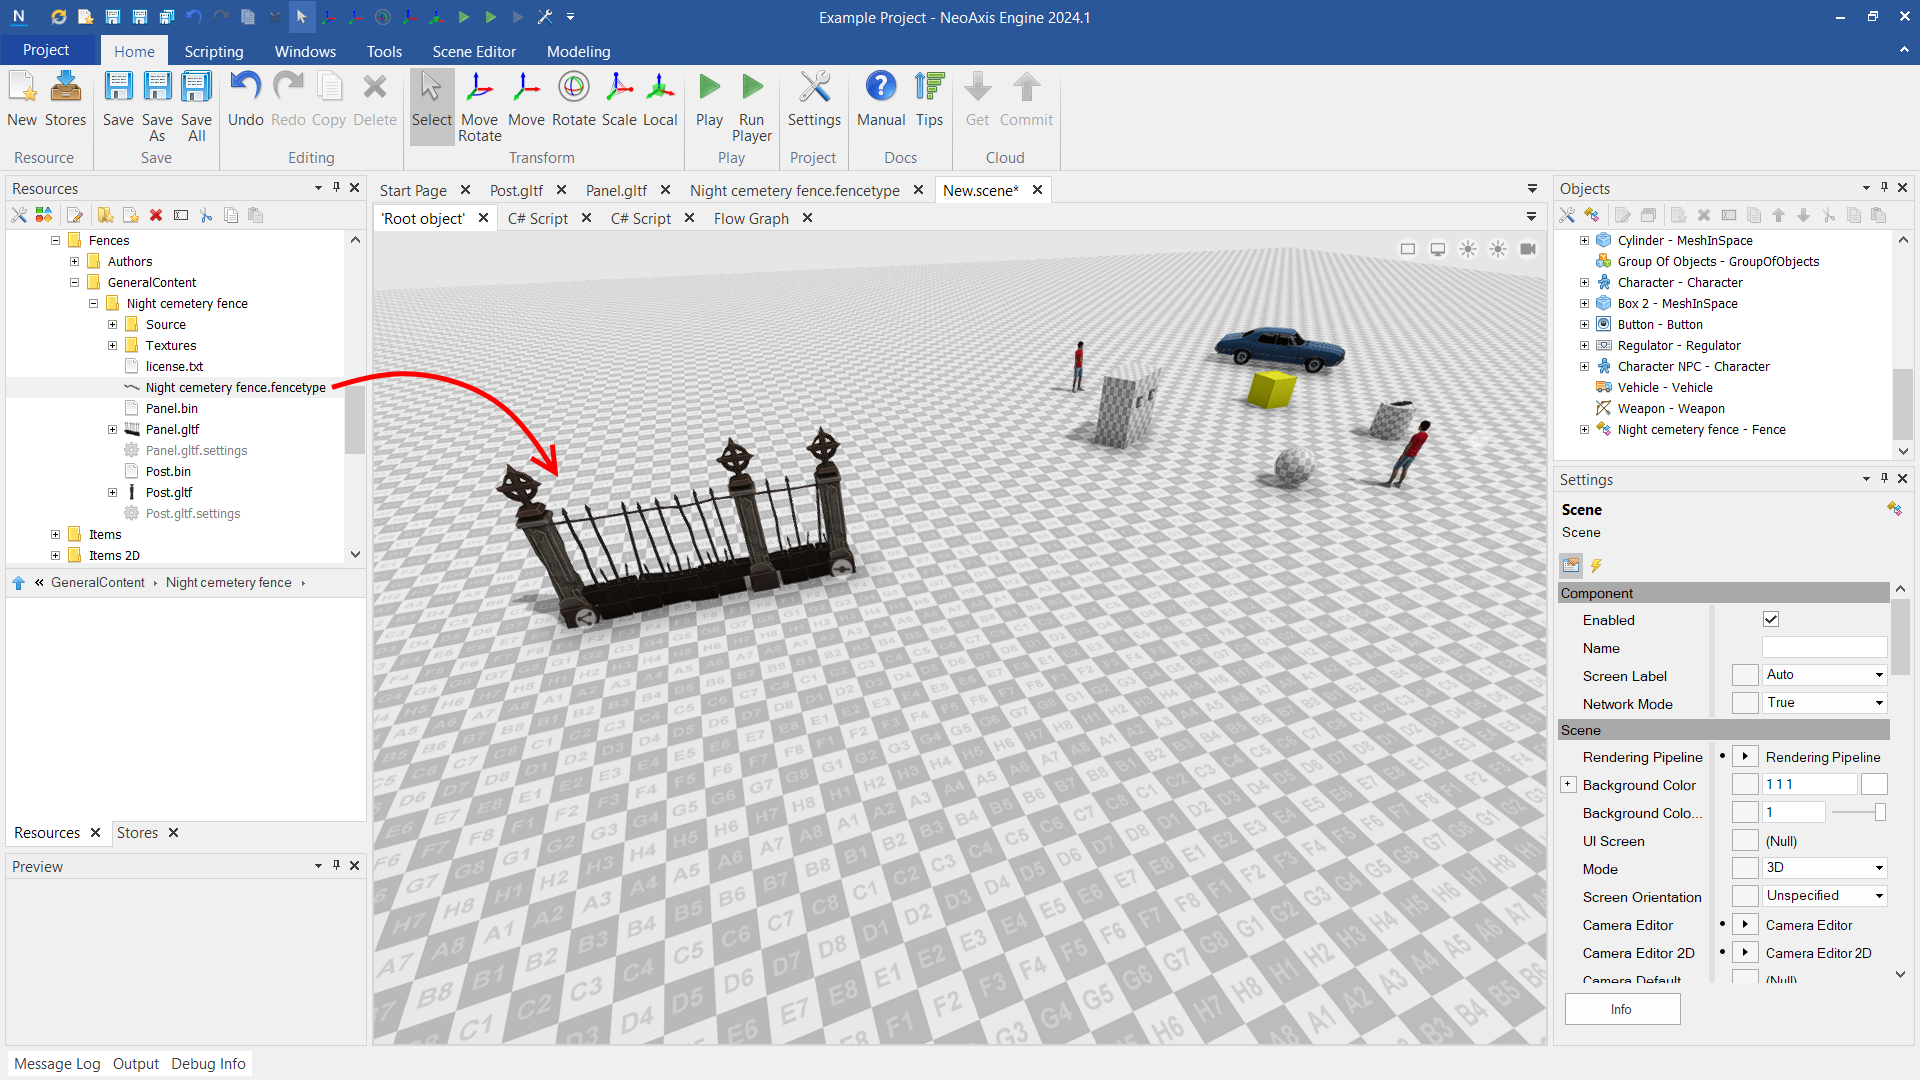
Select the fence type file in the Resources window, drop it to the workspace of the scene.
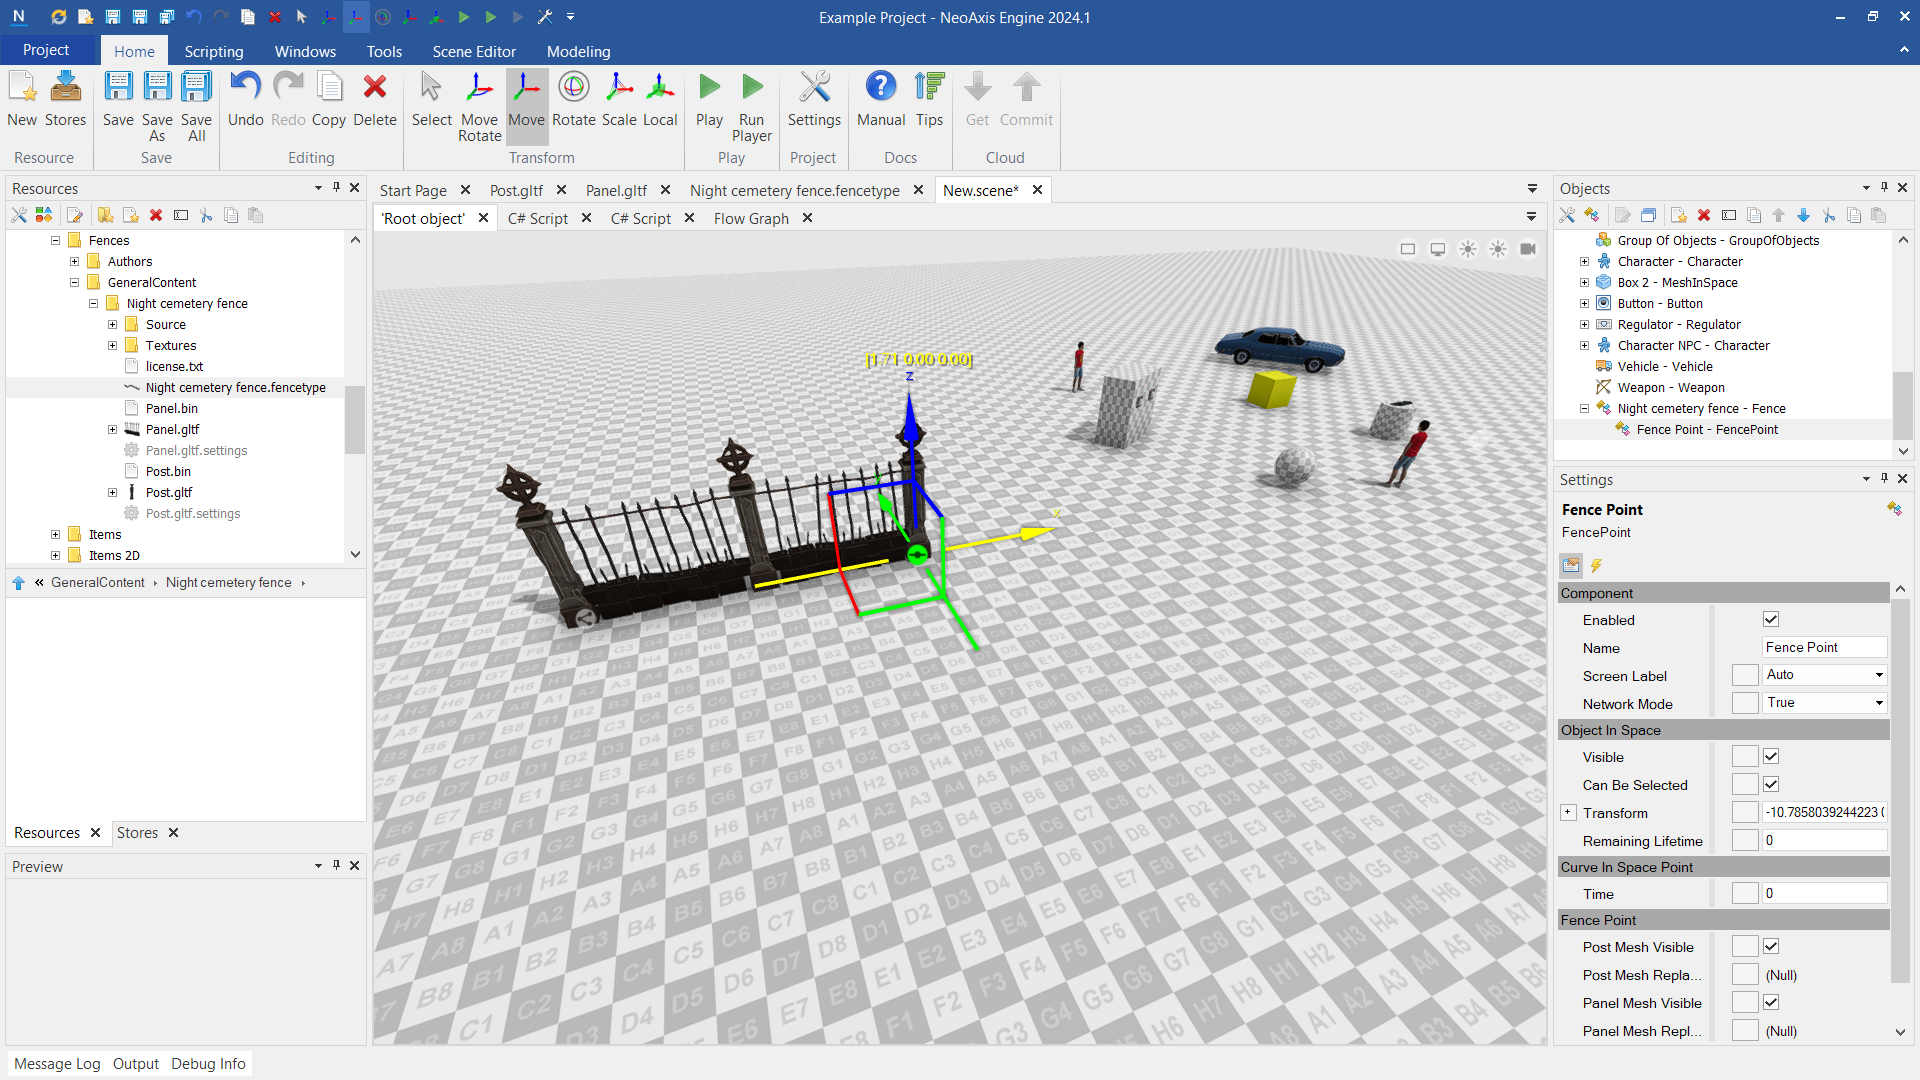
You can transform points of the fence.
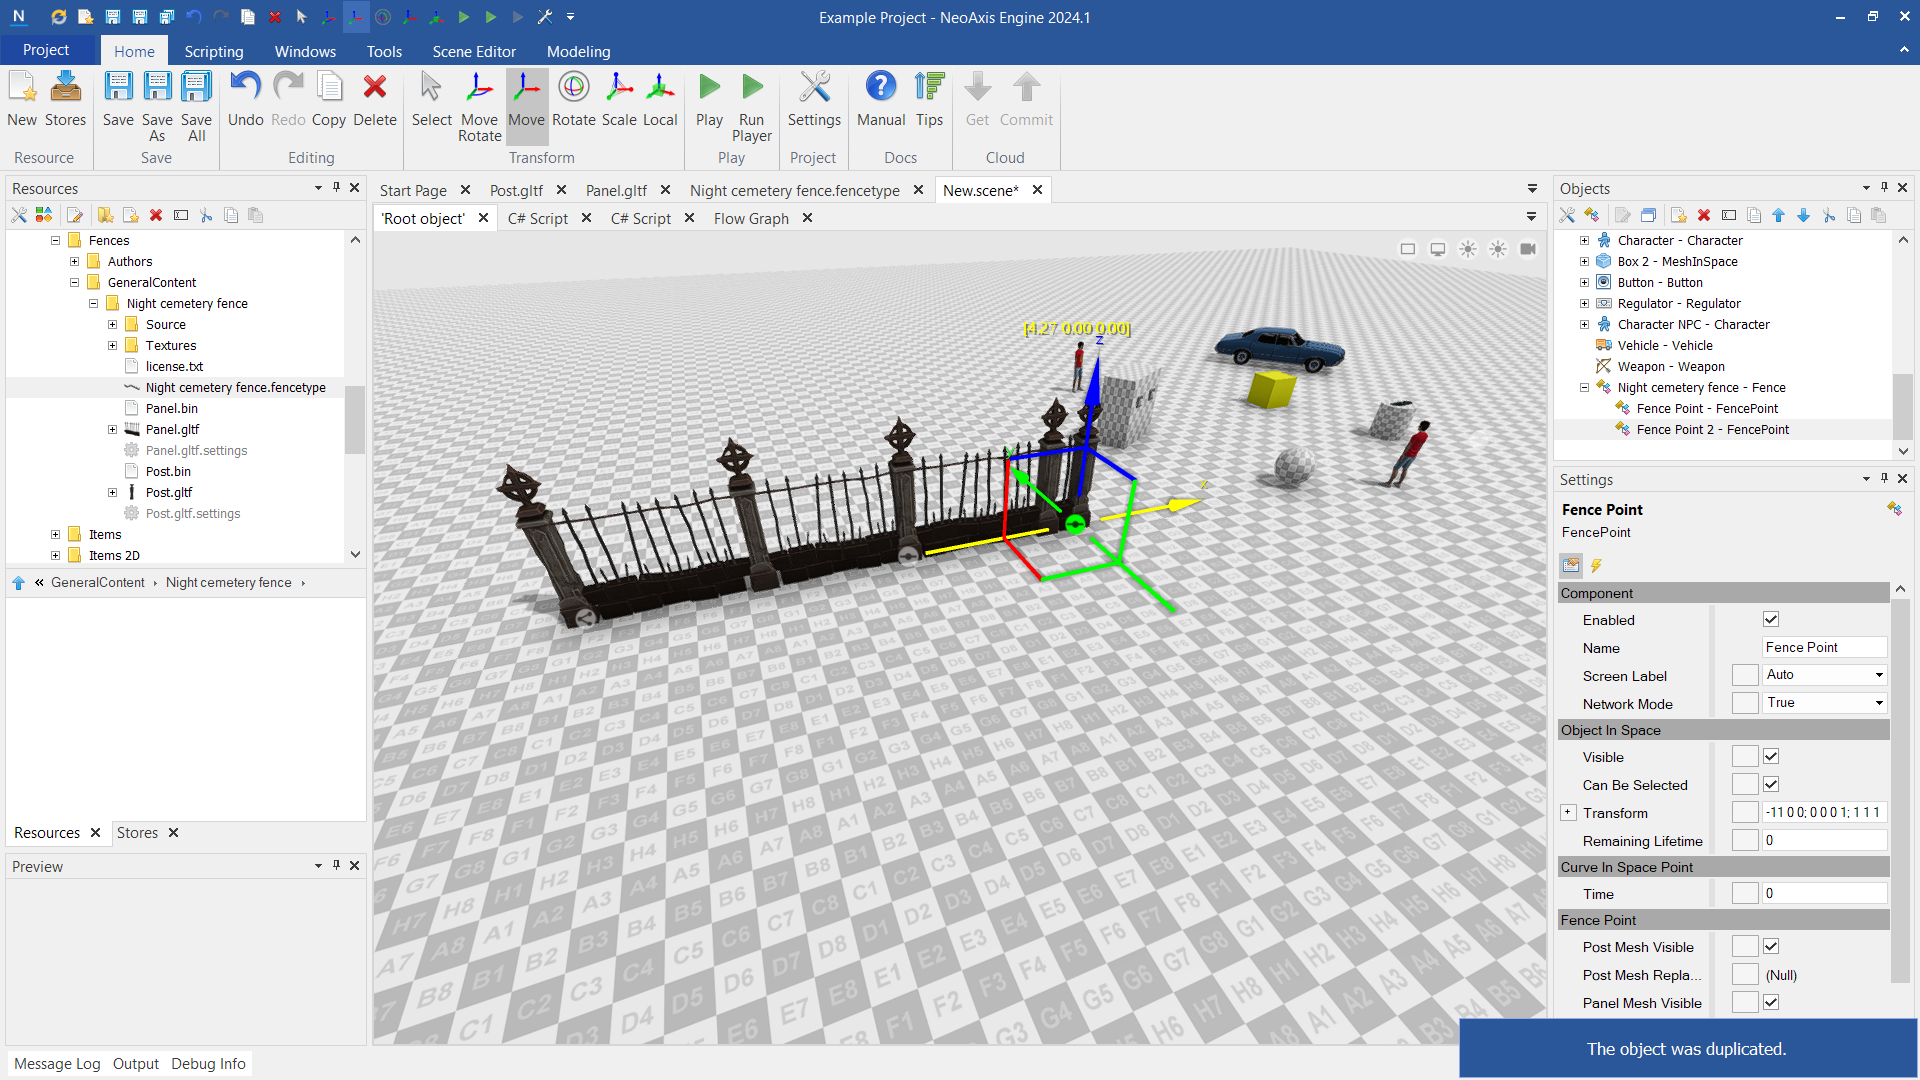
To add new point you can clone another, use Move with holding Shift key.
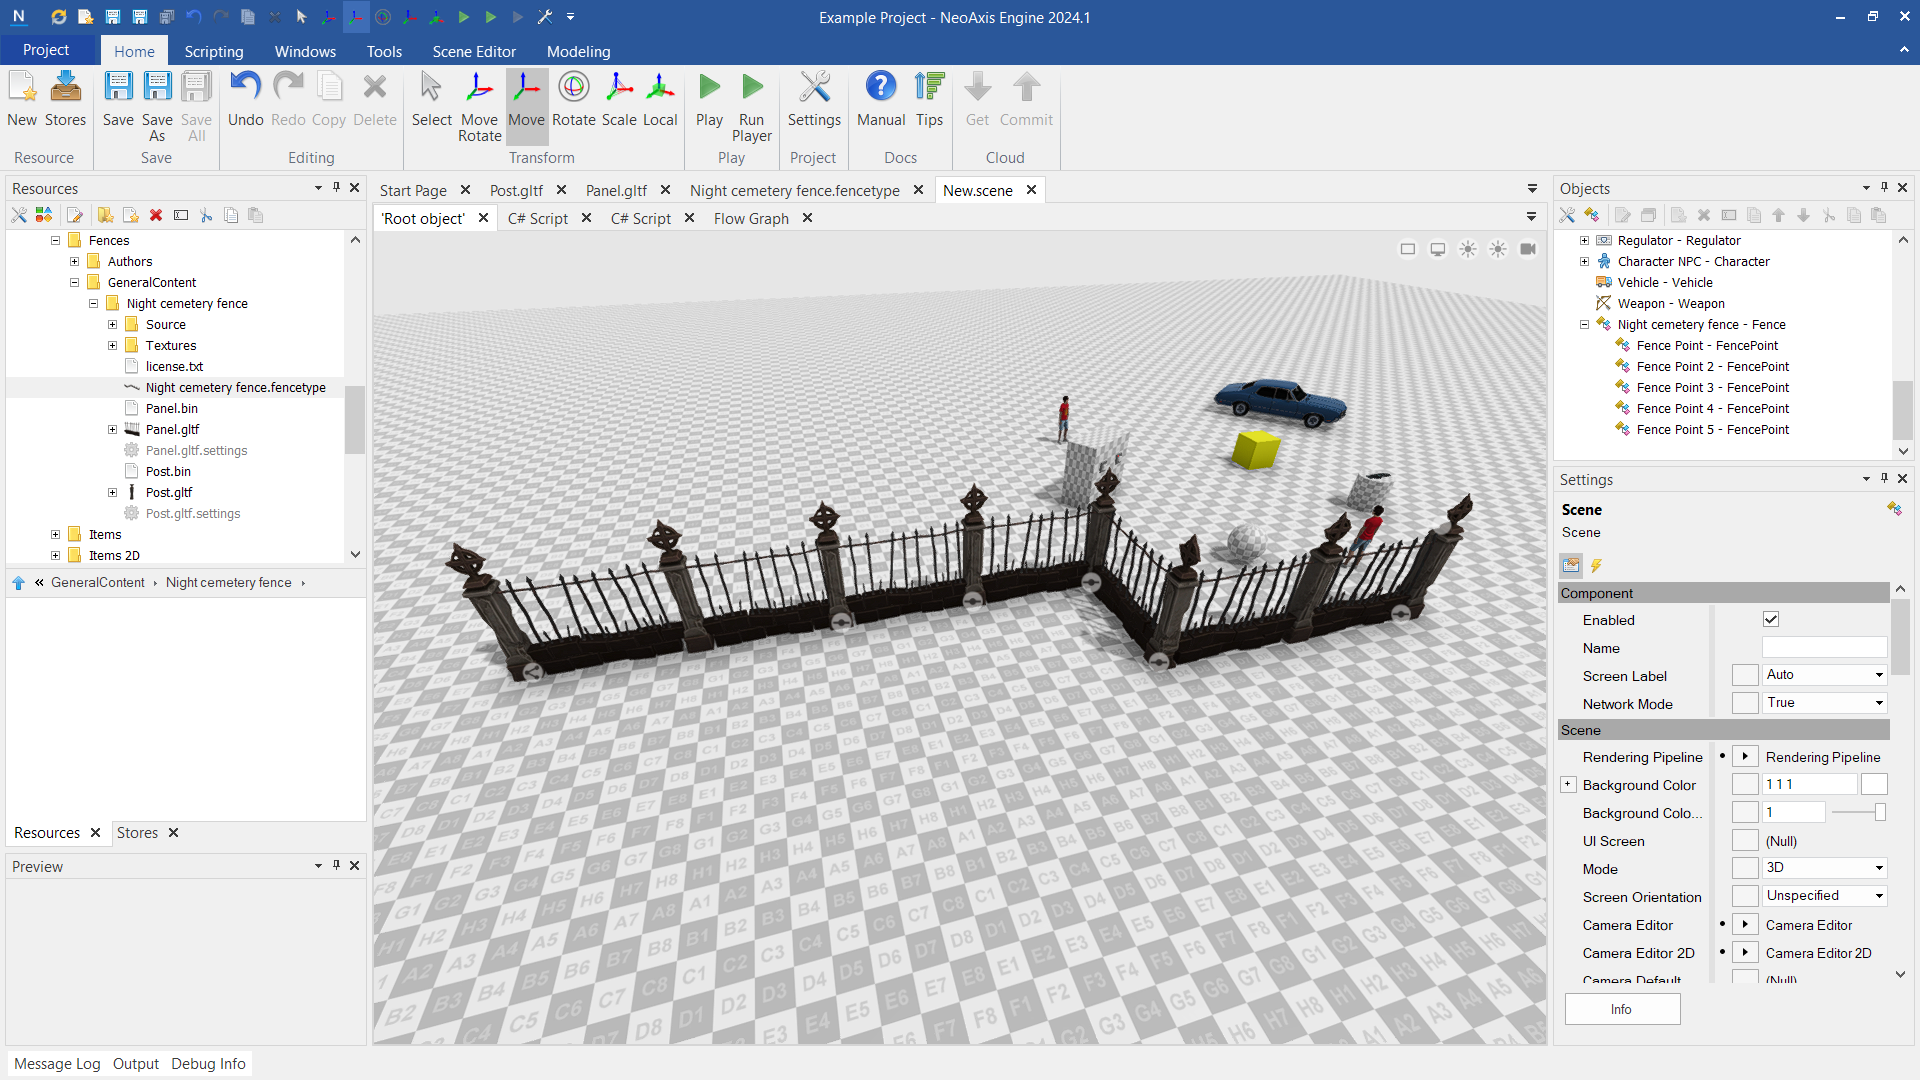
The result.
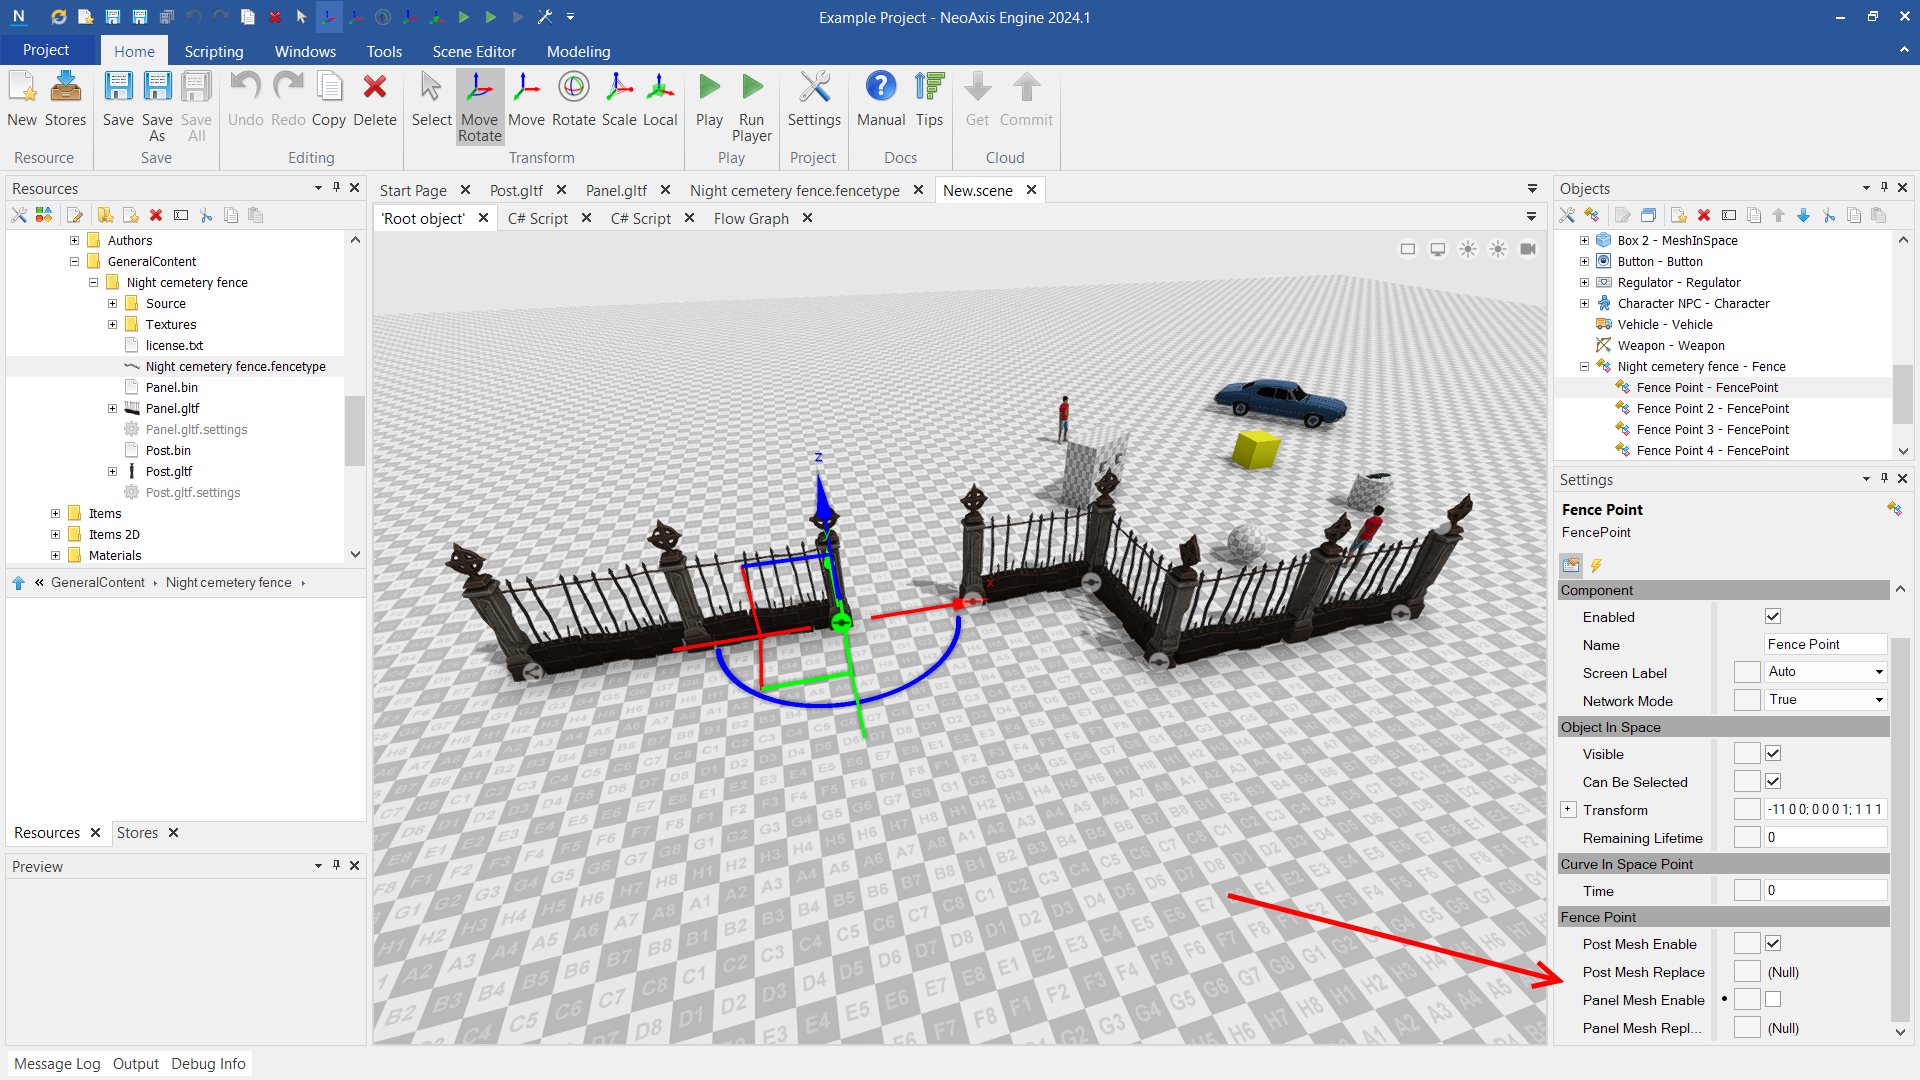
Per point settings
For each point of the fence can be configured separately. For example, you can hide the panel between two points.
Fence entrance
- The entrance can be implemented by means of the Door component.
- Or by creating MeshInSpace with a complex, physically based collision body. Read more Manual: Physical Objects Creation (WIP)
See also
WIP