
This post describes how to create a vehicle type.
Lightbody utility truck from 90 is used as example, you can download this configured model from the Store.
https://www.neoaxis.com/neox/catalog/lightbody-utility-truck-90
Prepare 3D models
You need to prepare 3D models, this post does not describe:
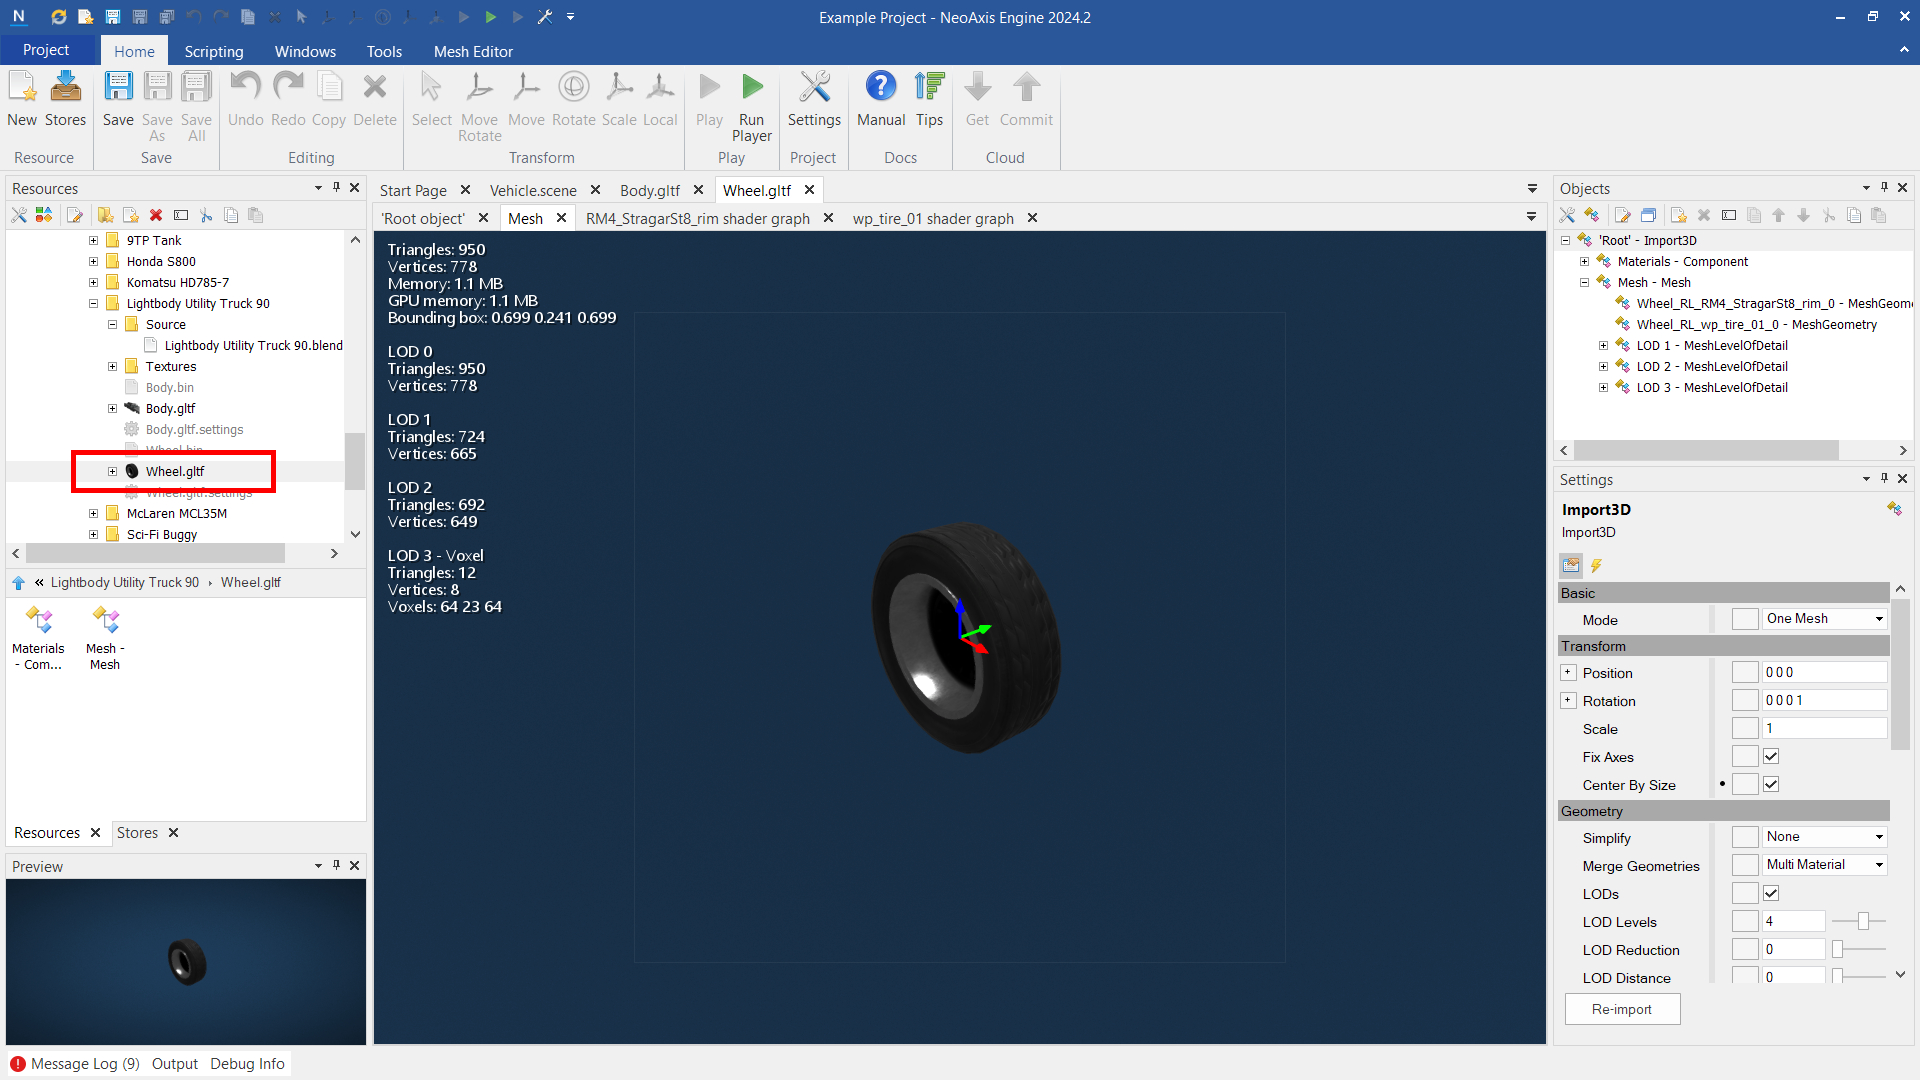
In usual case a vehicle have two meshes, Body and Wheel:
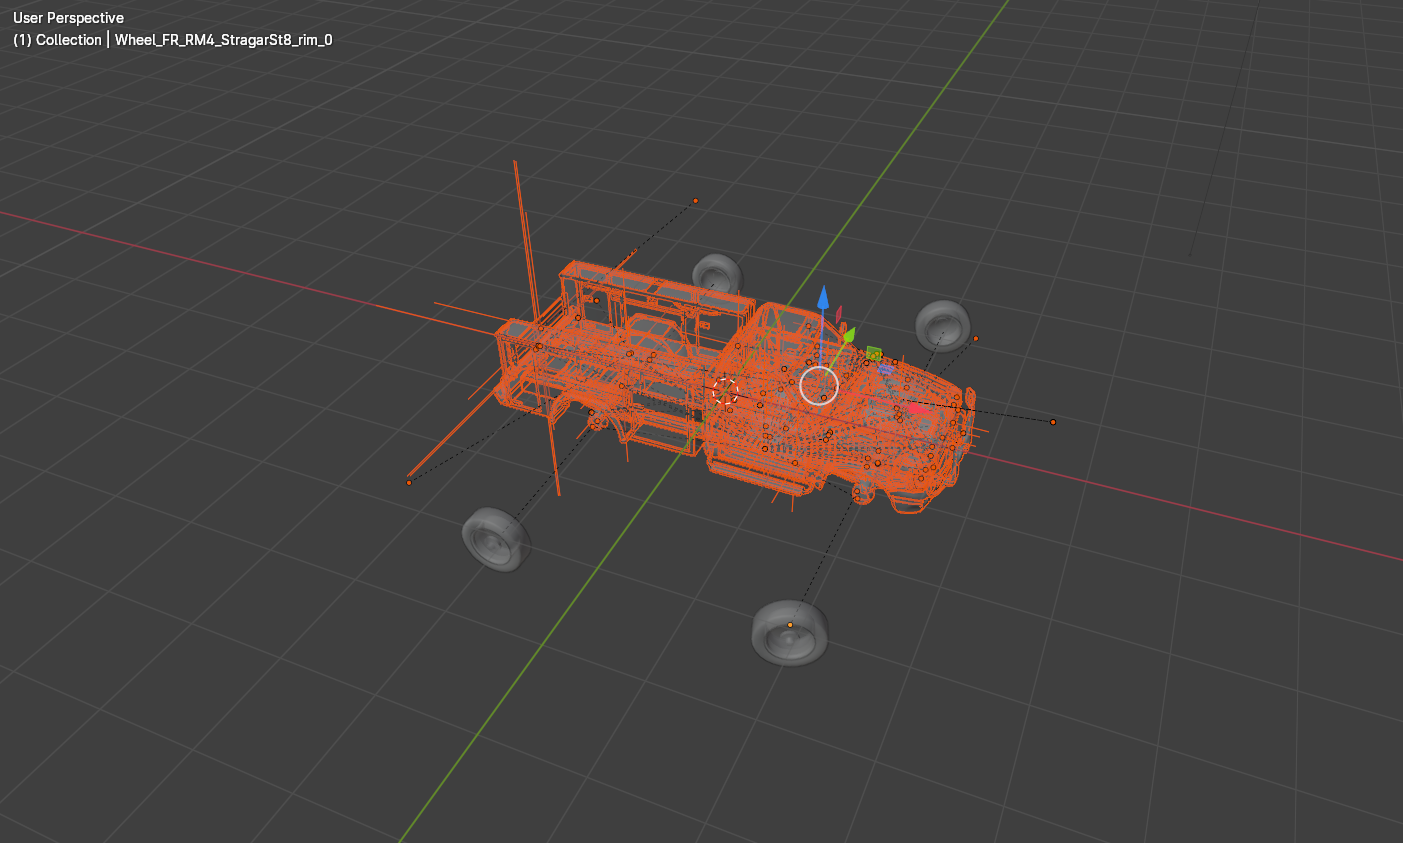
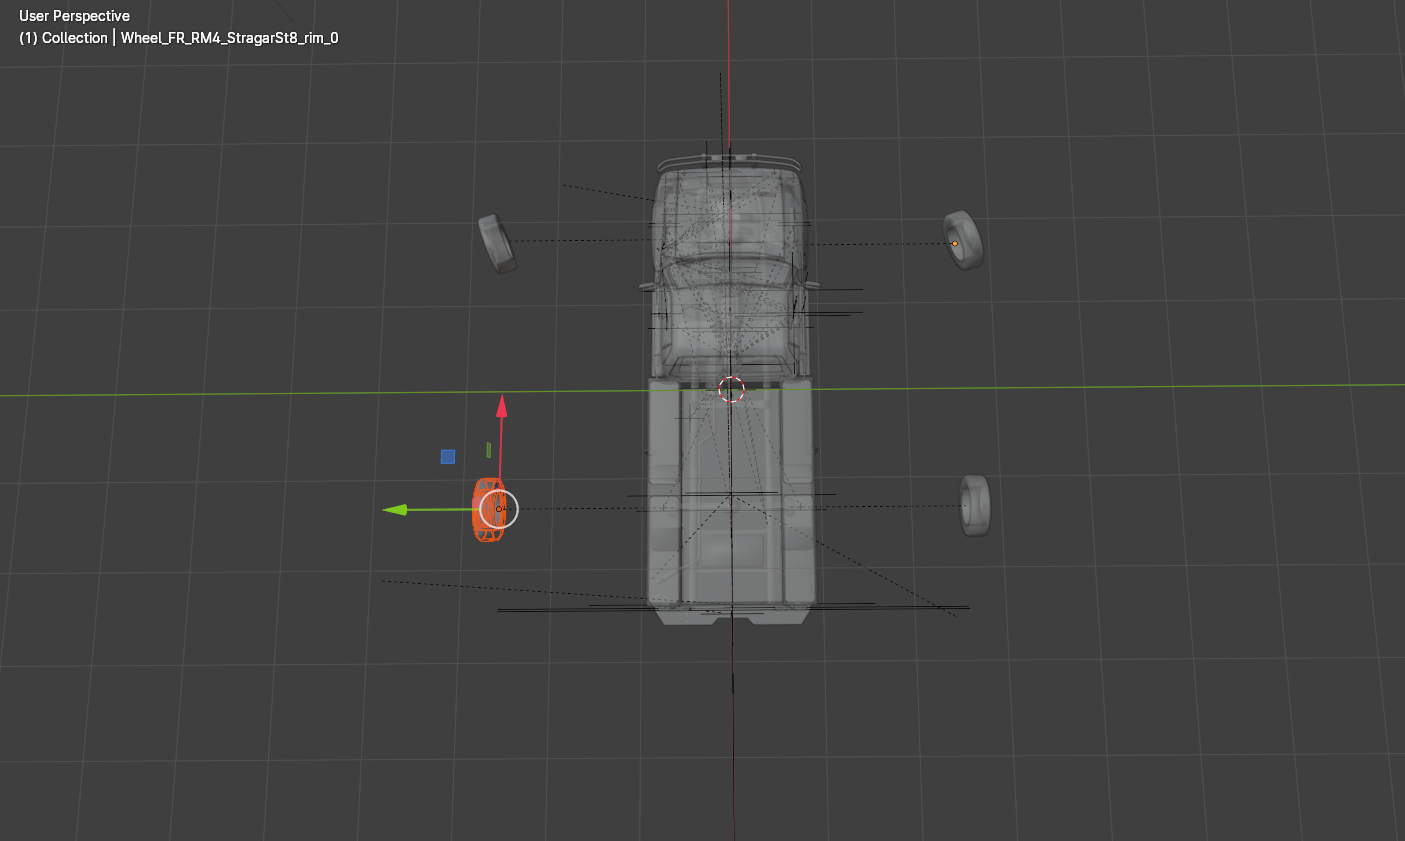
- Before the export, rotate axes of the model in the modelling package. X-axis is forward, Z-axis is up.
- Configure scale of the model.
- Center position of the body mesh.
- Wheel mesh is also must be centered, but it is easier to do in the editor after the import. Wheel mesh may be imported without position calibration, is enough to rotate axes and next, in the editor, enable "Center By Size" parameter.
Add collision to the body mesh
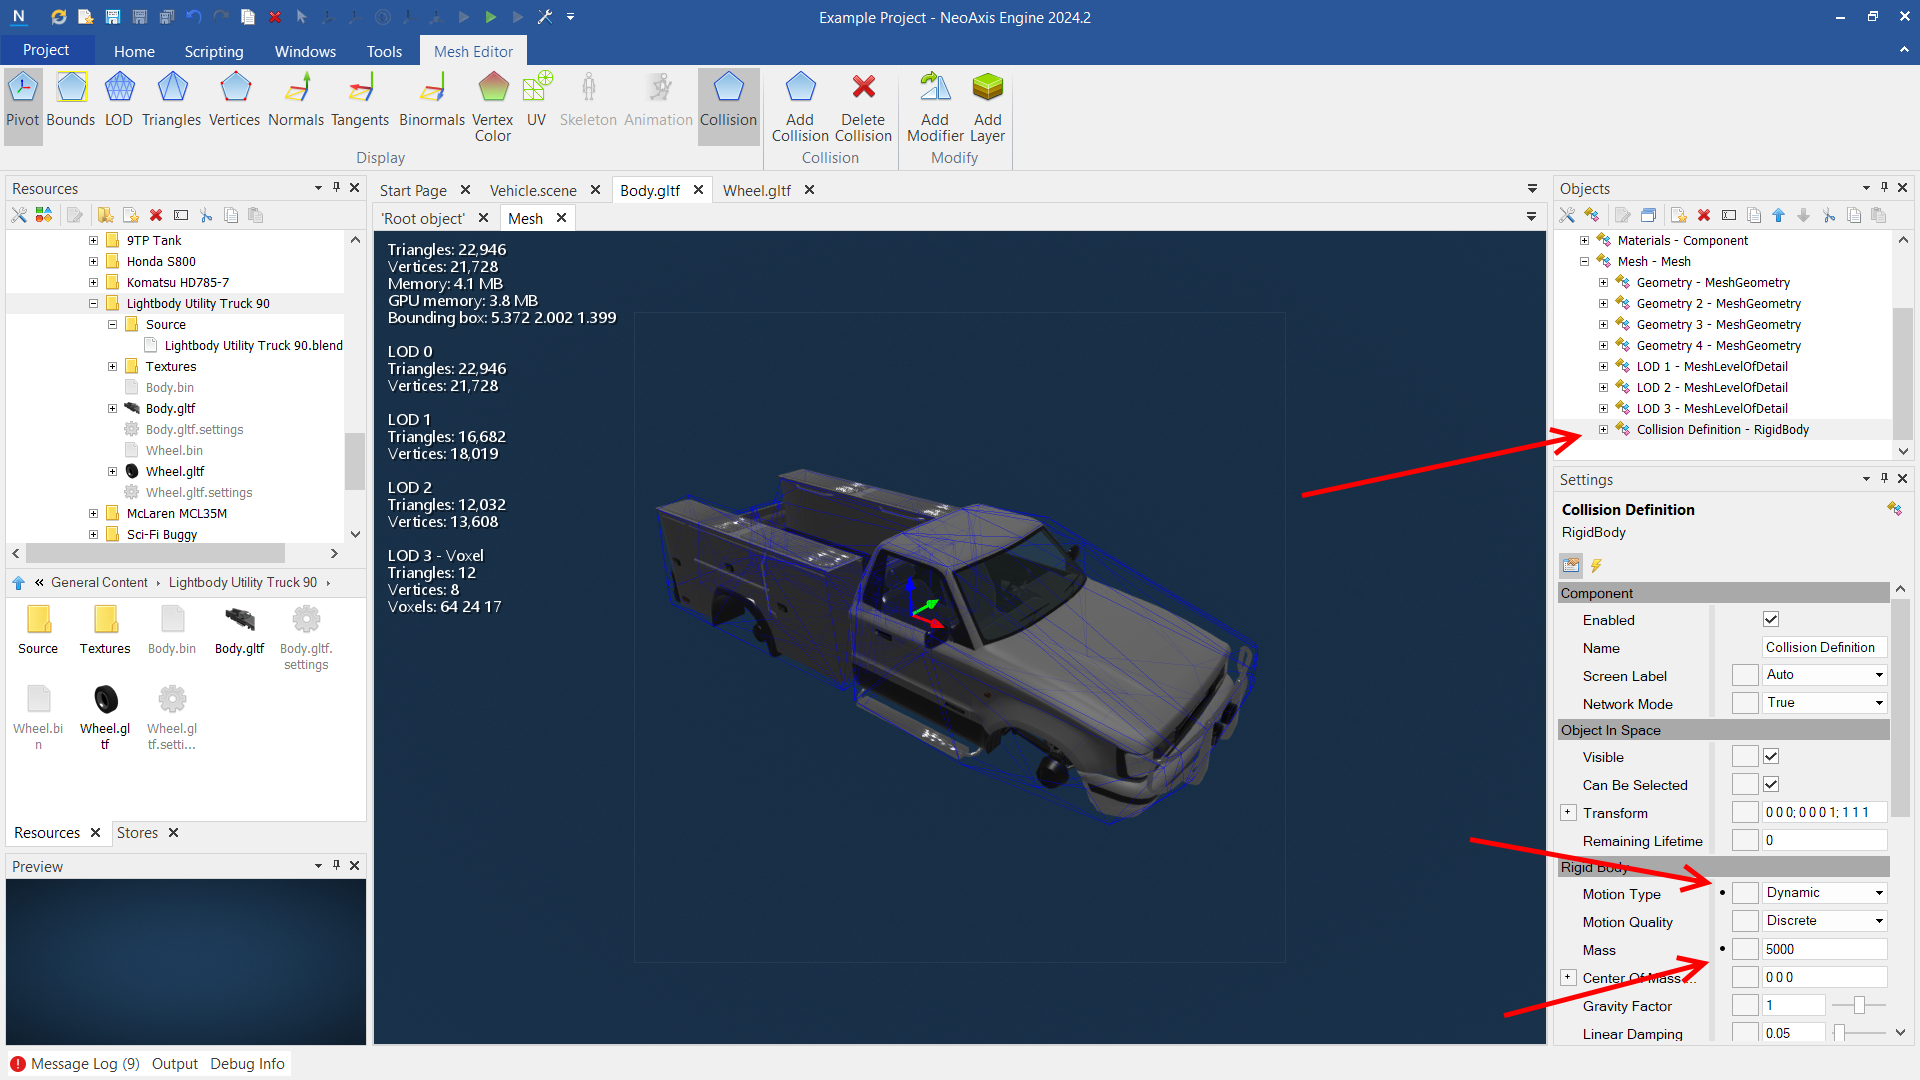
The body mesh must have configured "Collision Definition" body.
How to add collision definition to the mesh.
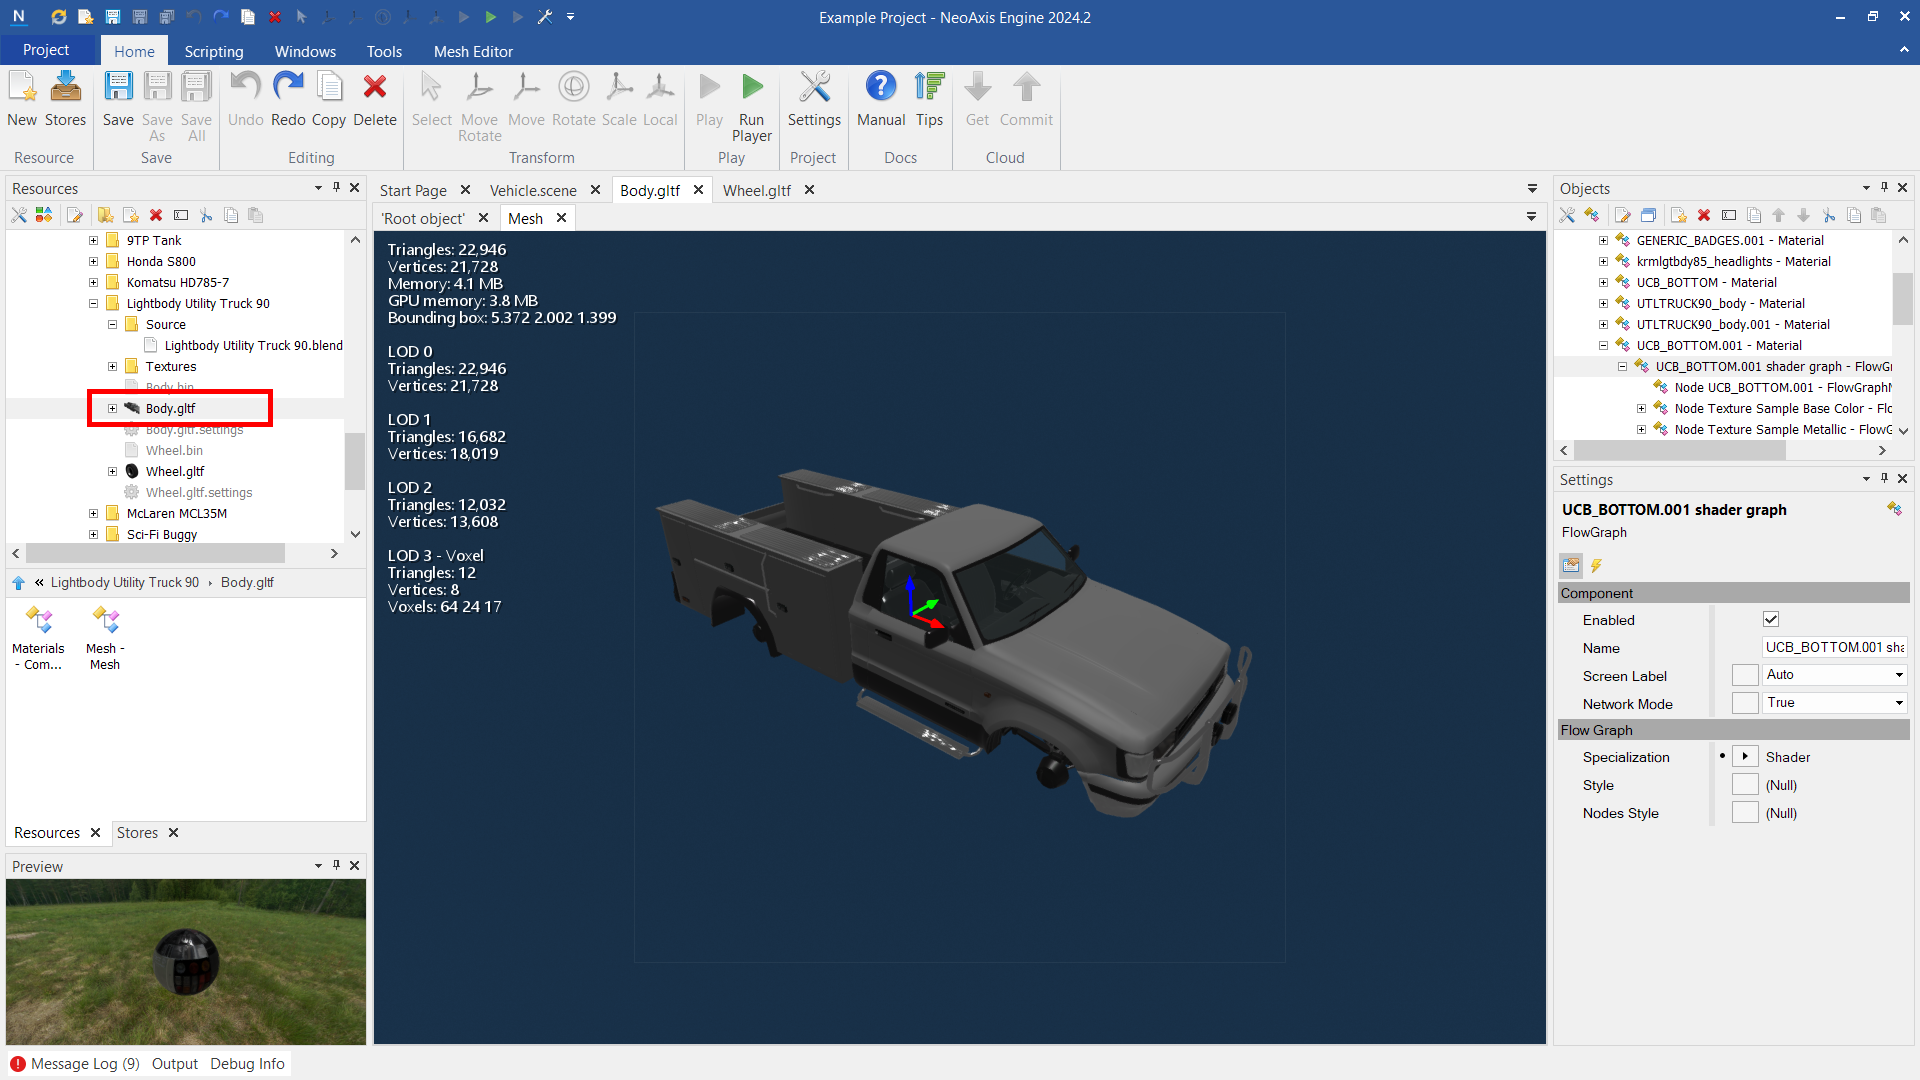
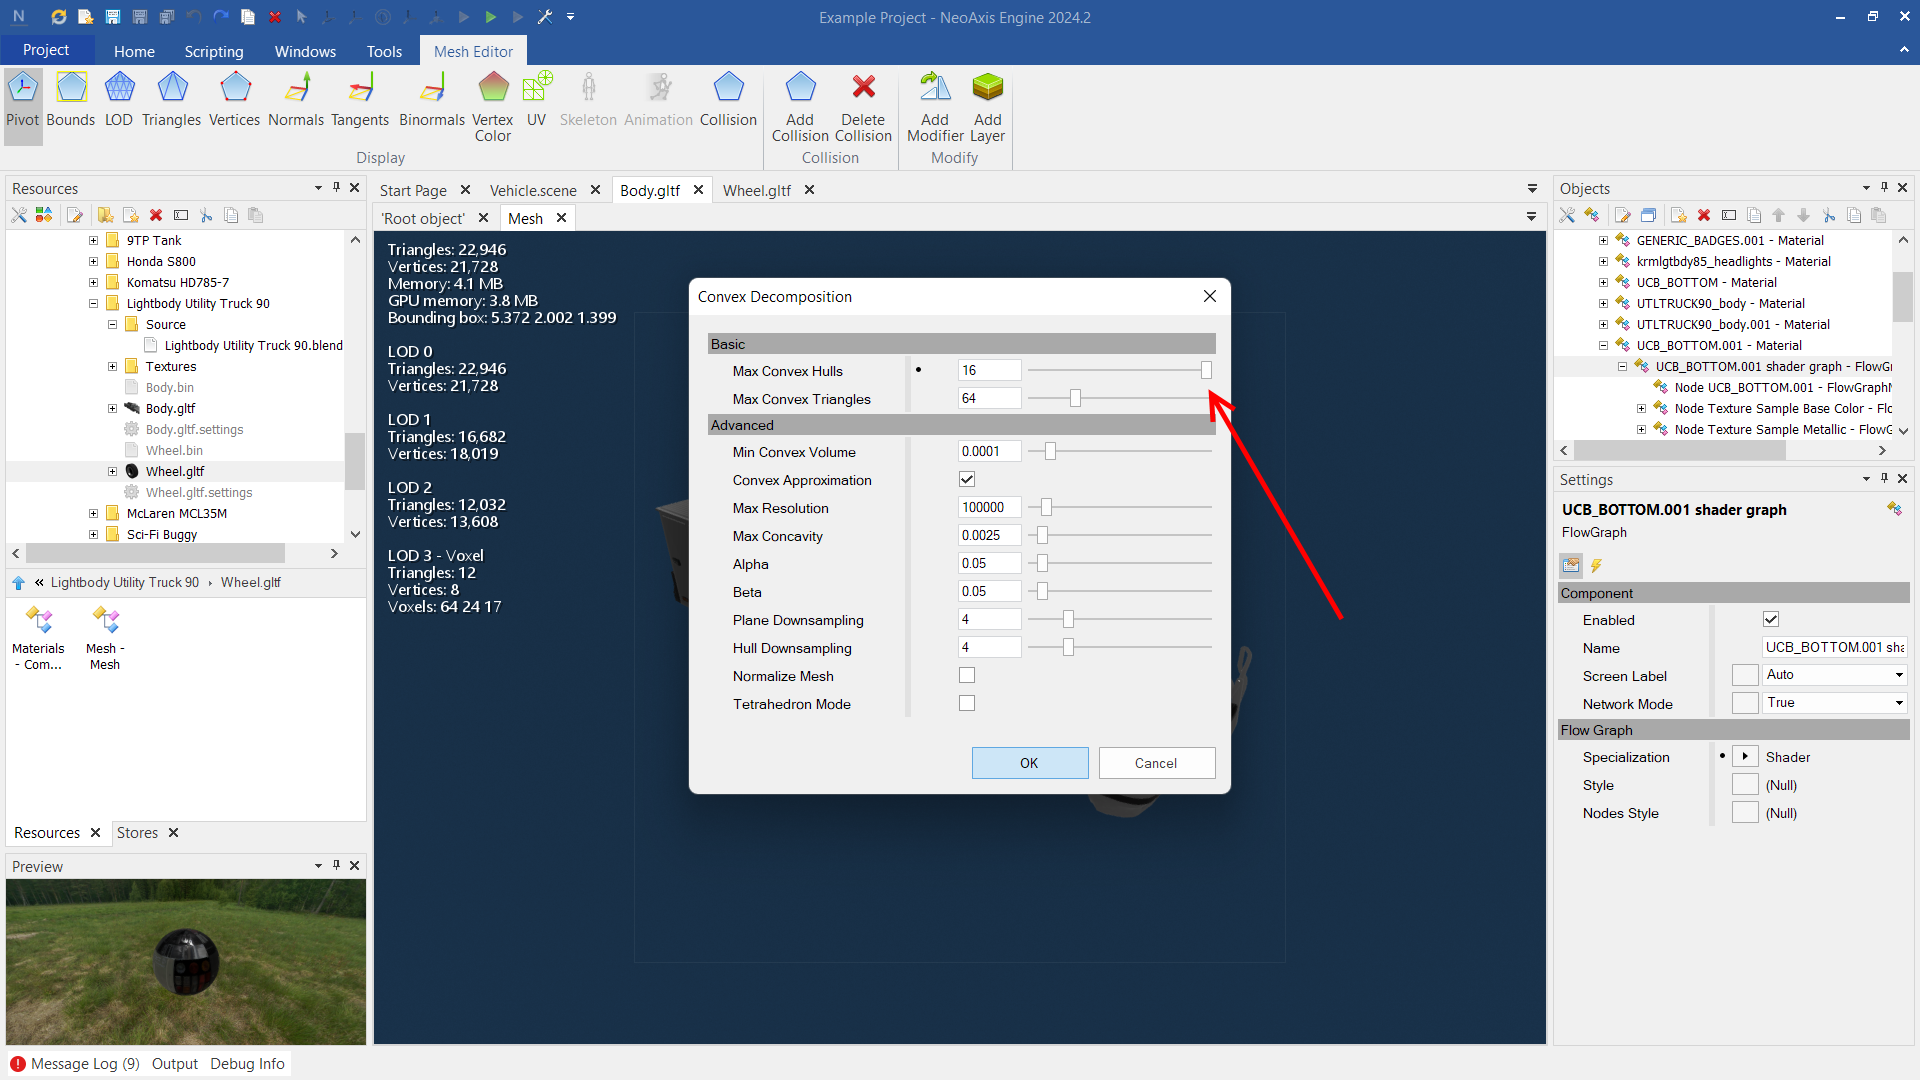
Open Body.gltf, go to Ribbon -> Mesh Editor -> Add Collision. Use Convex Decomposition method to calculate the collision body.
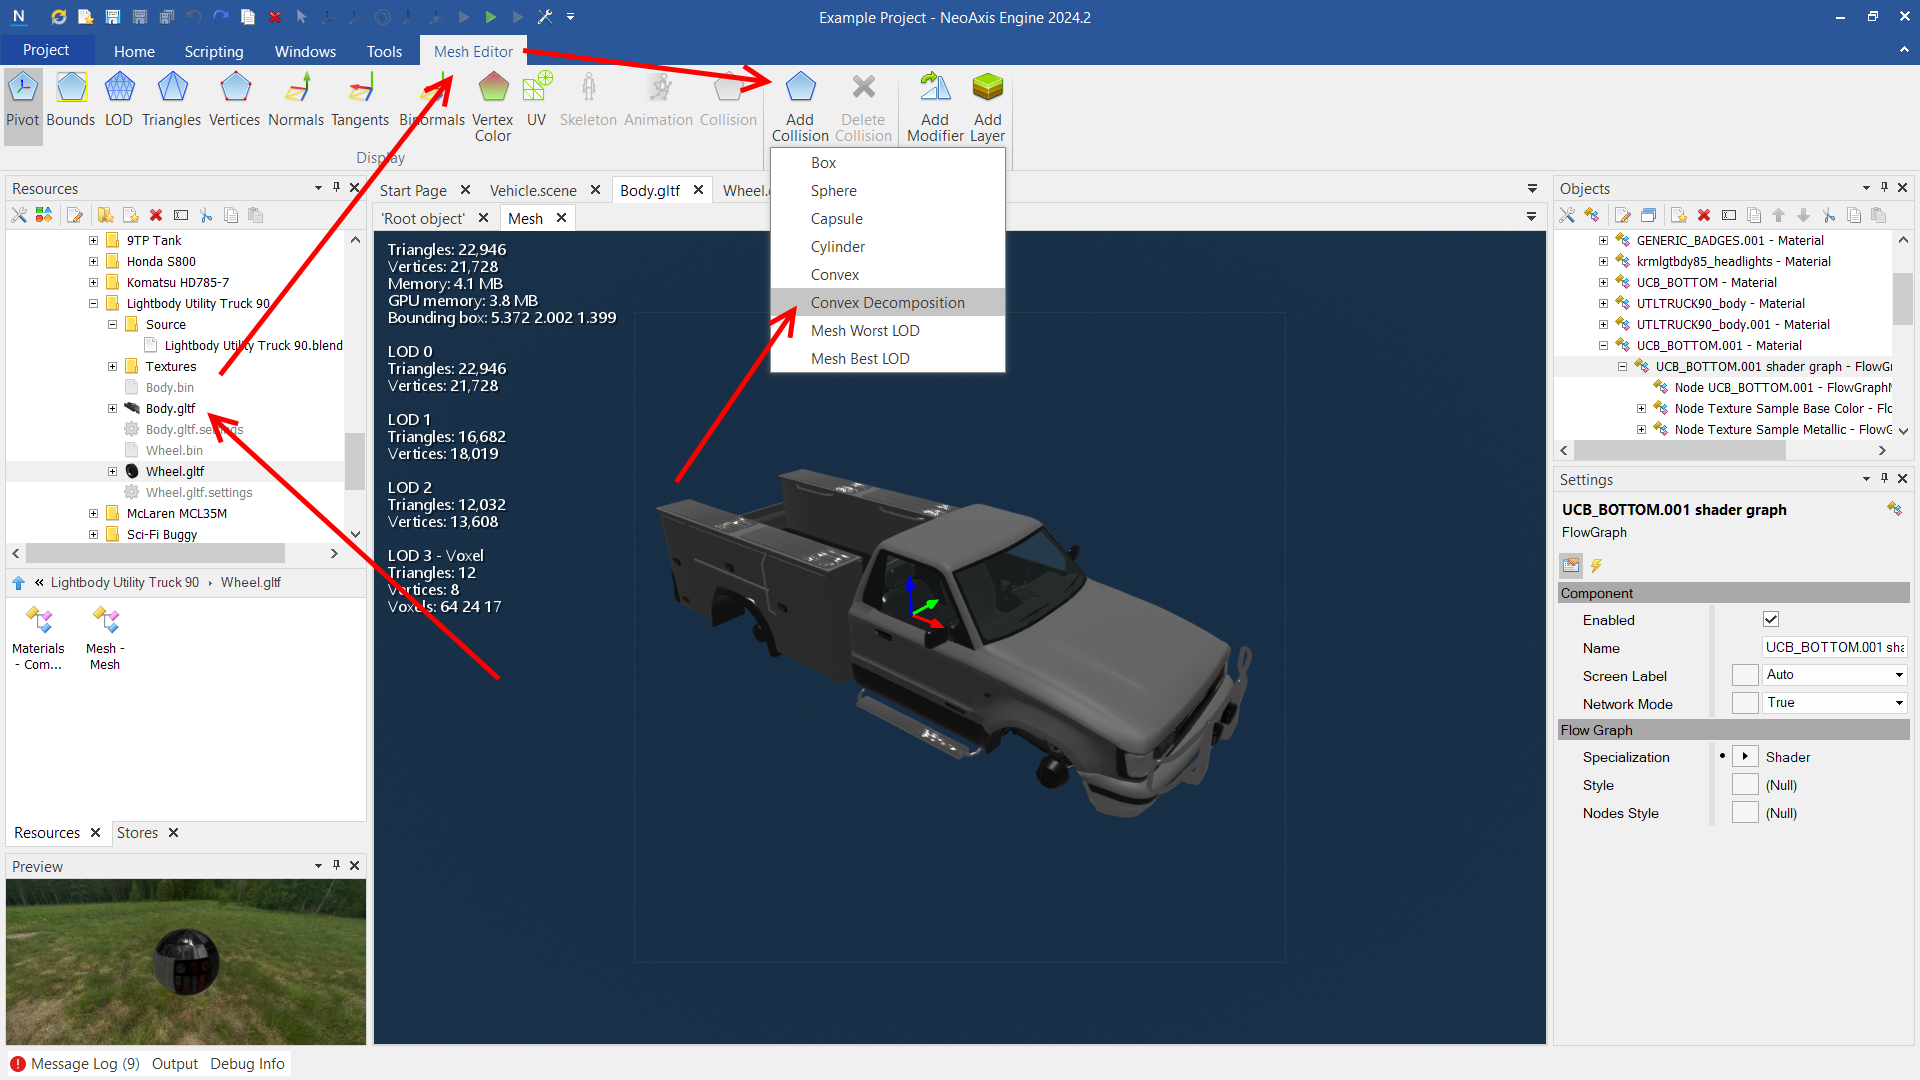
Try various decomposition settings, for example more amount of convex shapes.
Select "Collision Definition" component. Set "Motion Type" to Dynamic and configure the mass.
Don't need to customize the physics for the wheel in the mesh.
Create a vehicle type
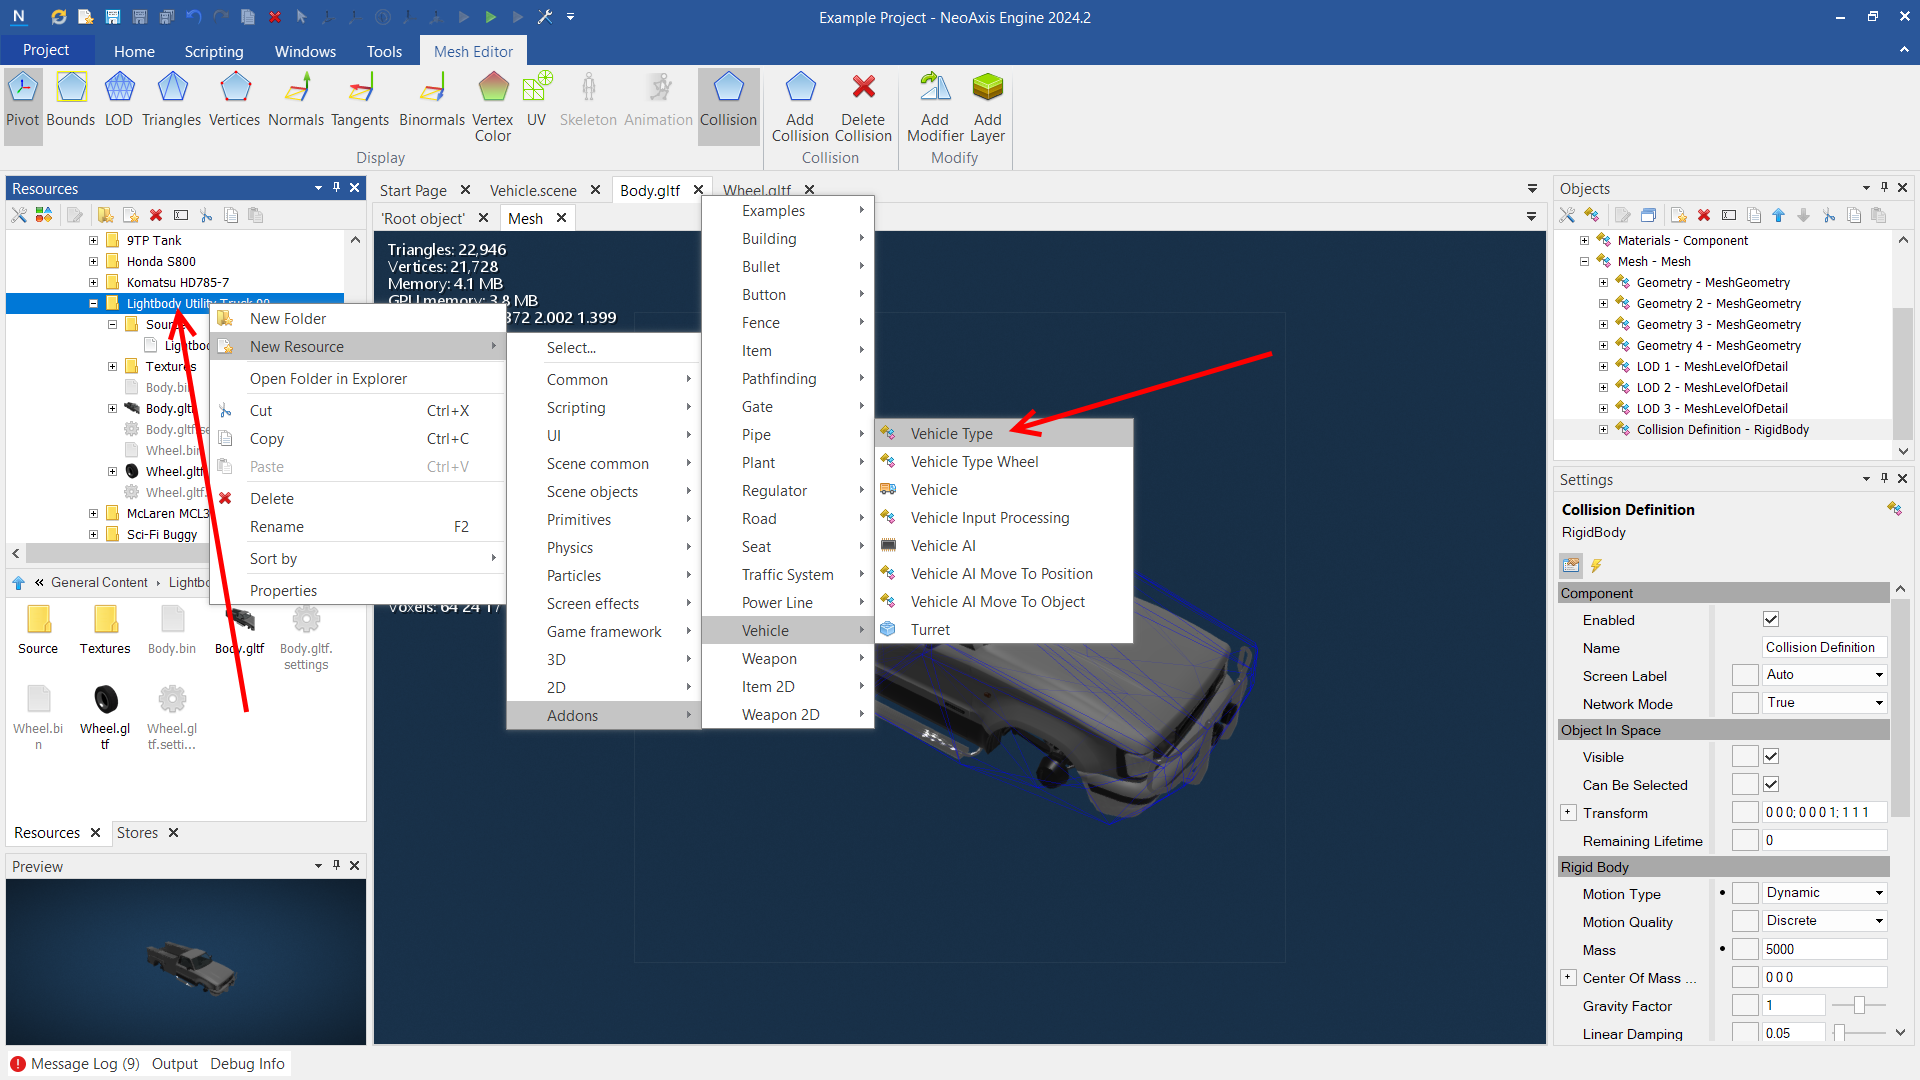
- To create a new vehicle type, select the destination folder in the Resources window, click the right mouse button to open the context menu. Go to New Resource -> Addons -> Vehicle -> Vehicle Type.
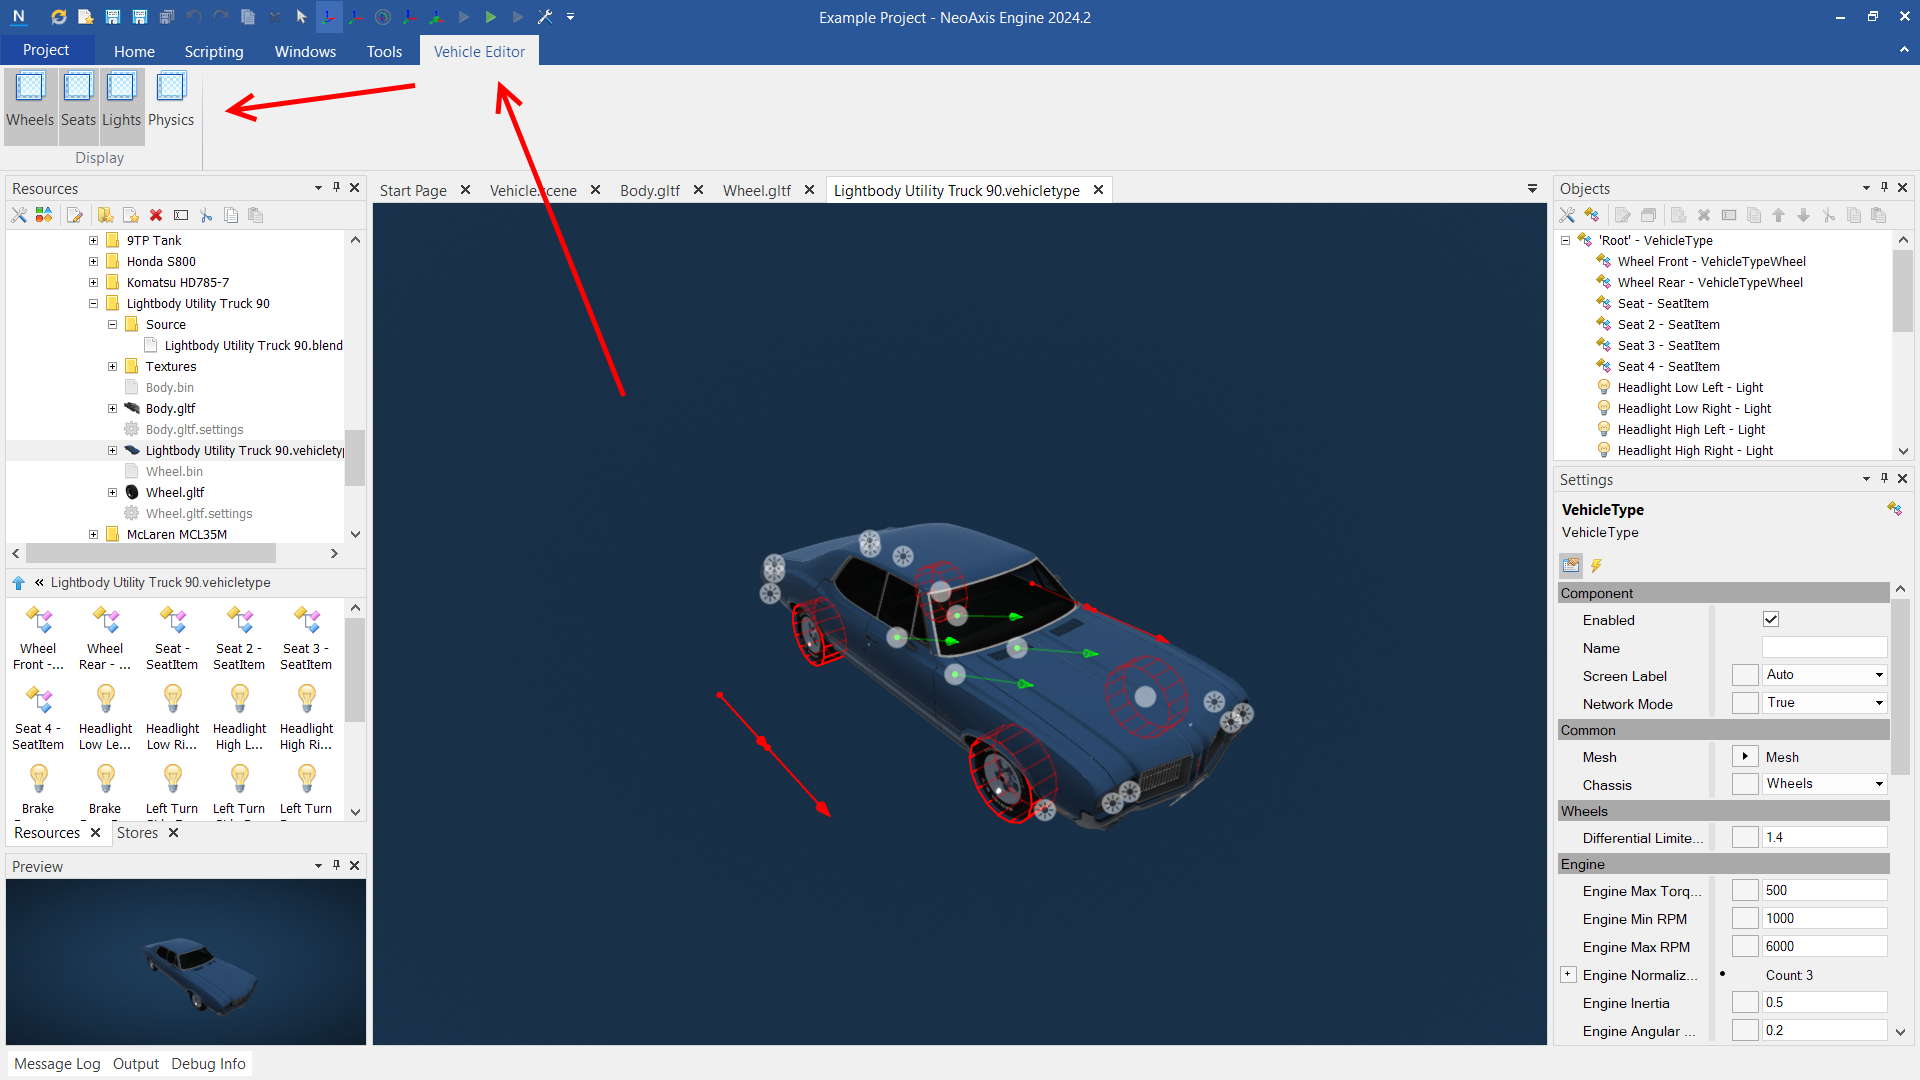
- Created component is same as Default Vehicle (Content\Vehicles\Default\Default Vehicle.vehicletype). The type contains child components such as Wheel, Light, Seat. Use the Ribbon to configure debug visualization.
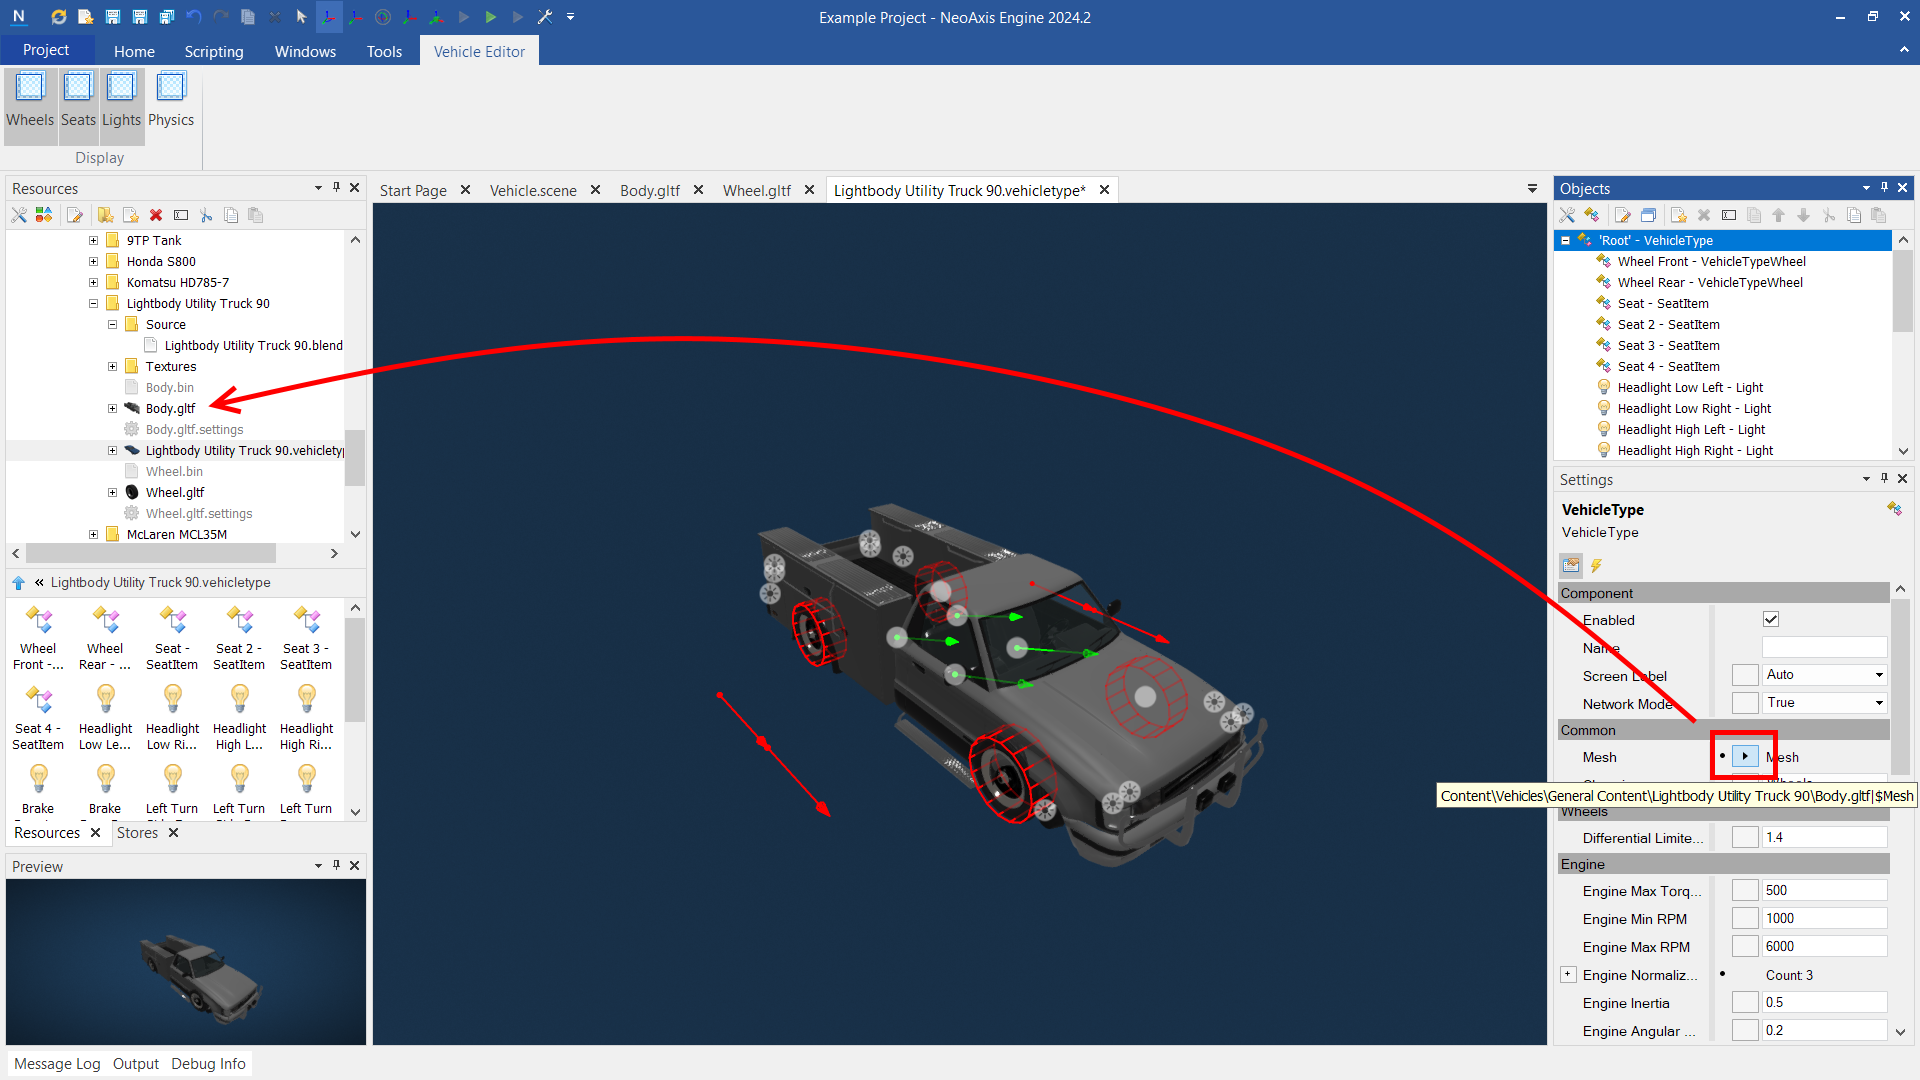
Set Mesh property
Configure Mesh property as a beginning. Click on reference button in the property or hold and drag to Body.gltf.
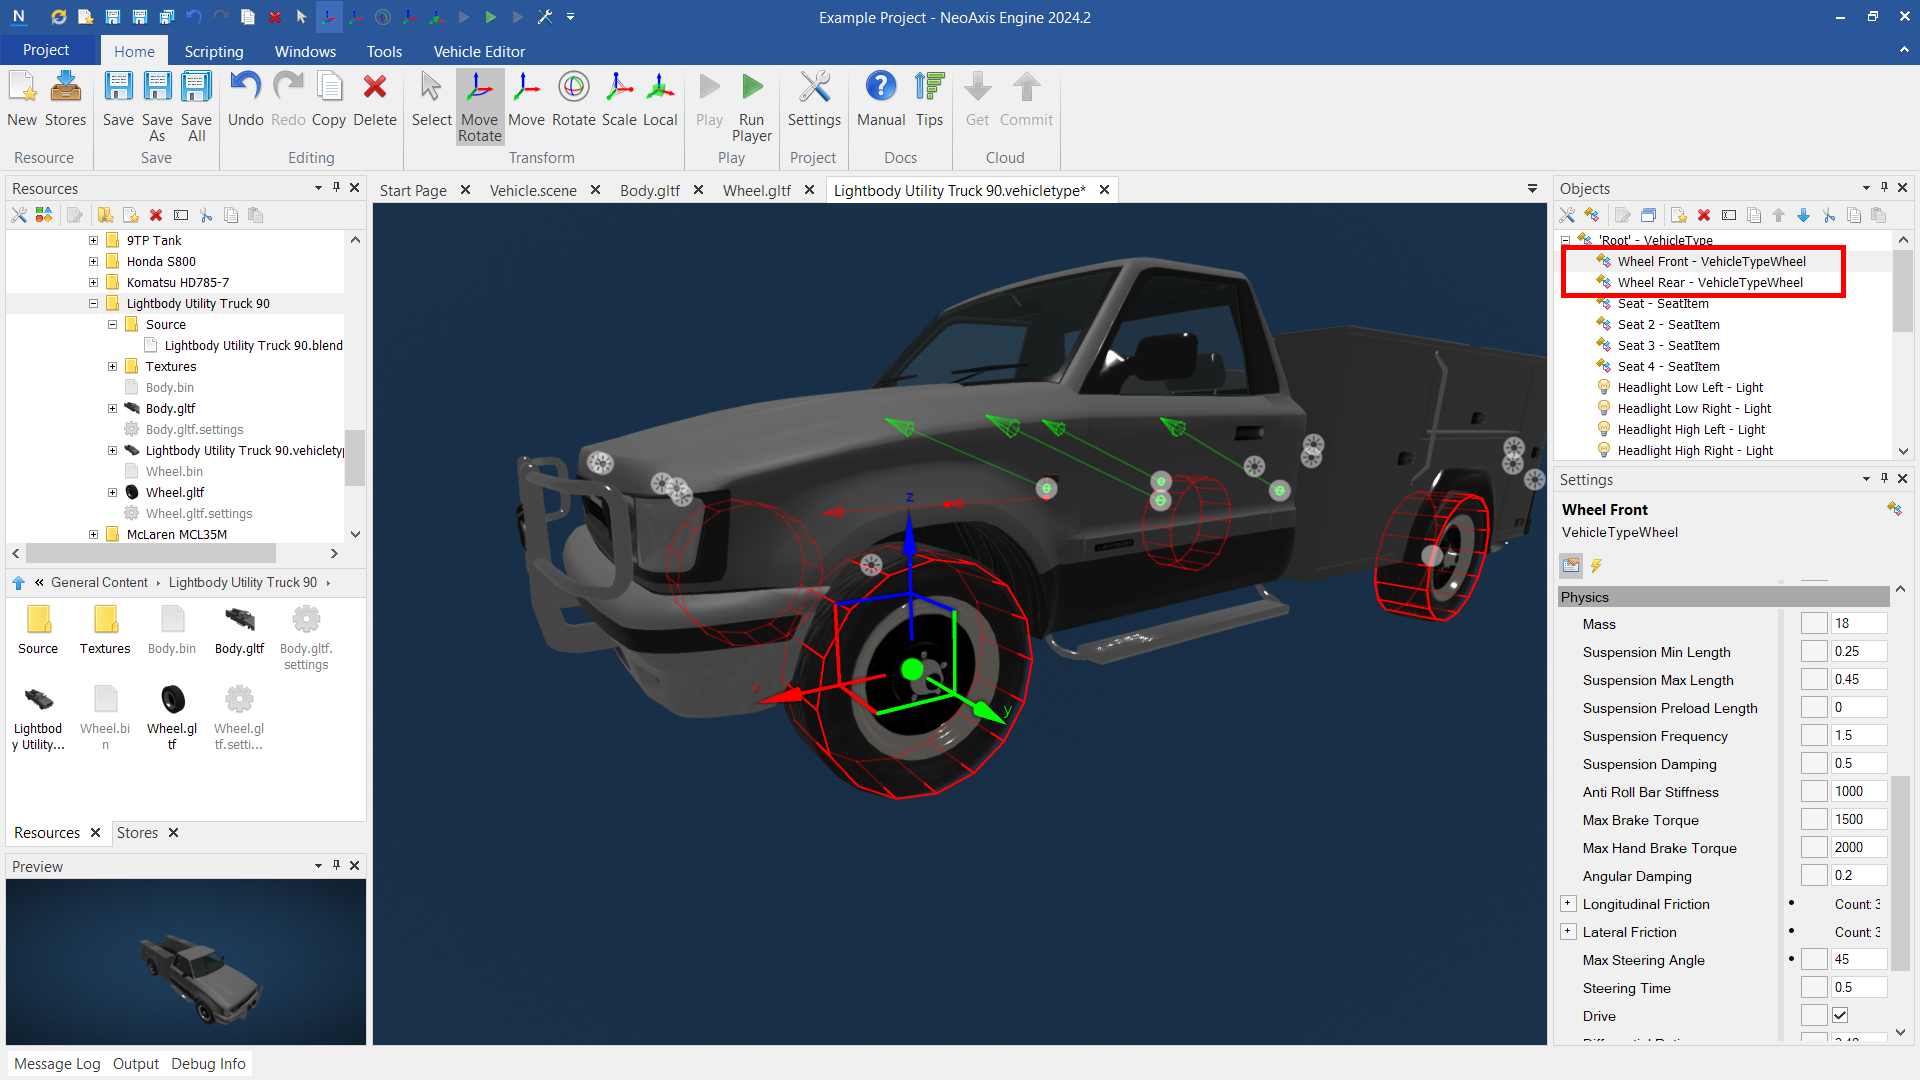
Wheels
Wheels are presented as child components.
- Configure position. You can move them by means of the transform tool.
- Diameter and Width.
- Mass.
- Suspension. Configure Suspension Max Length to increase max distance of the wheels.
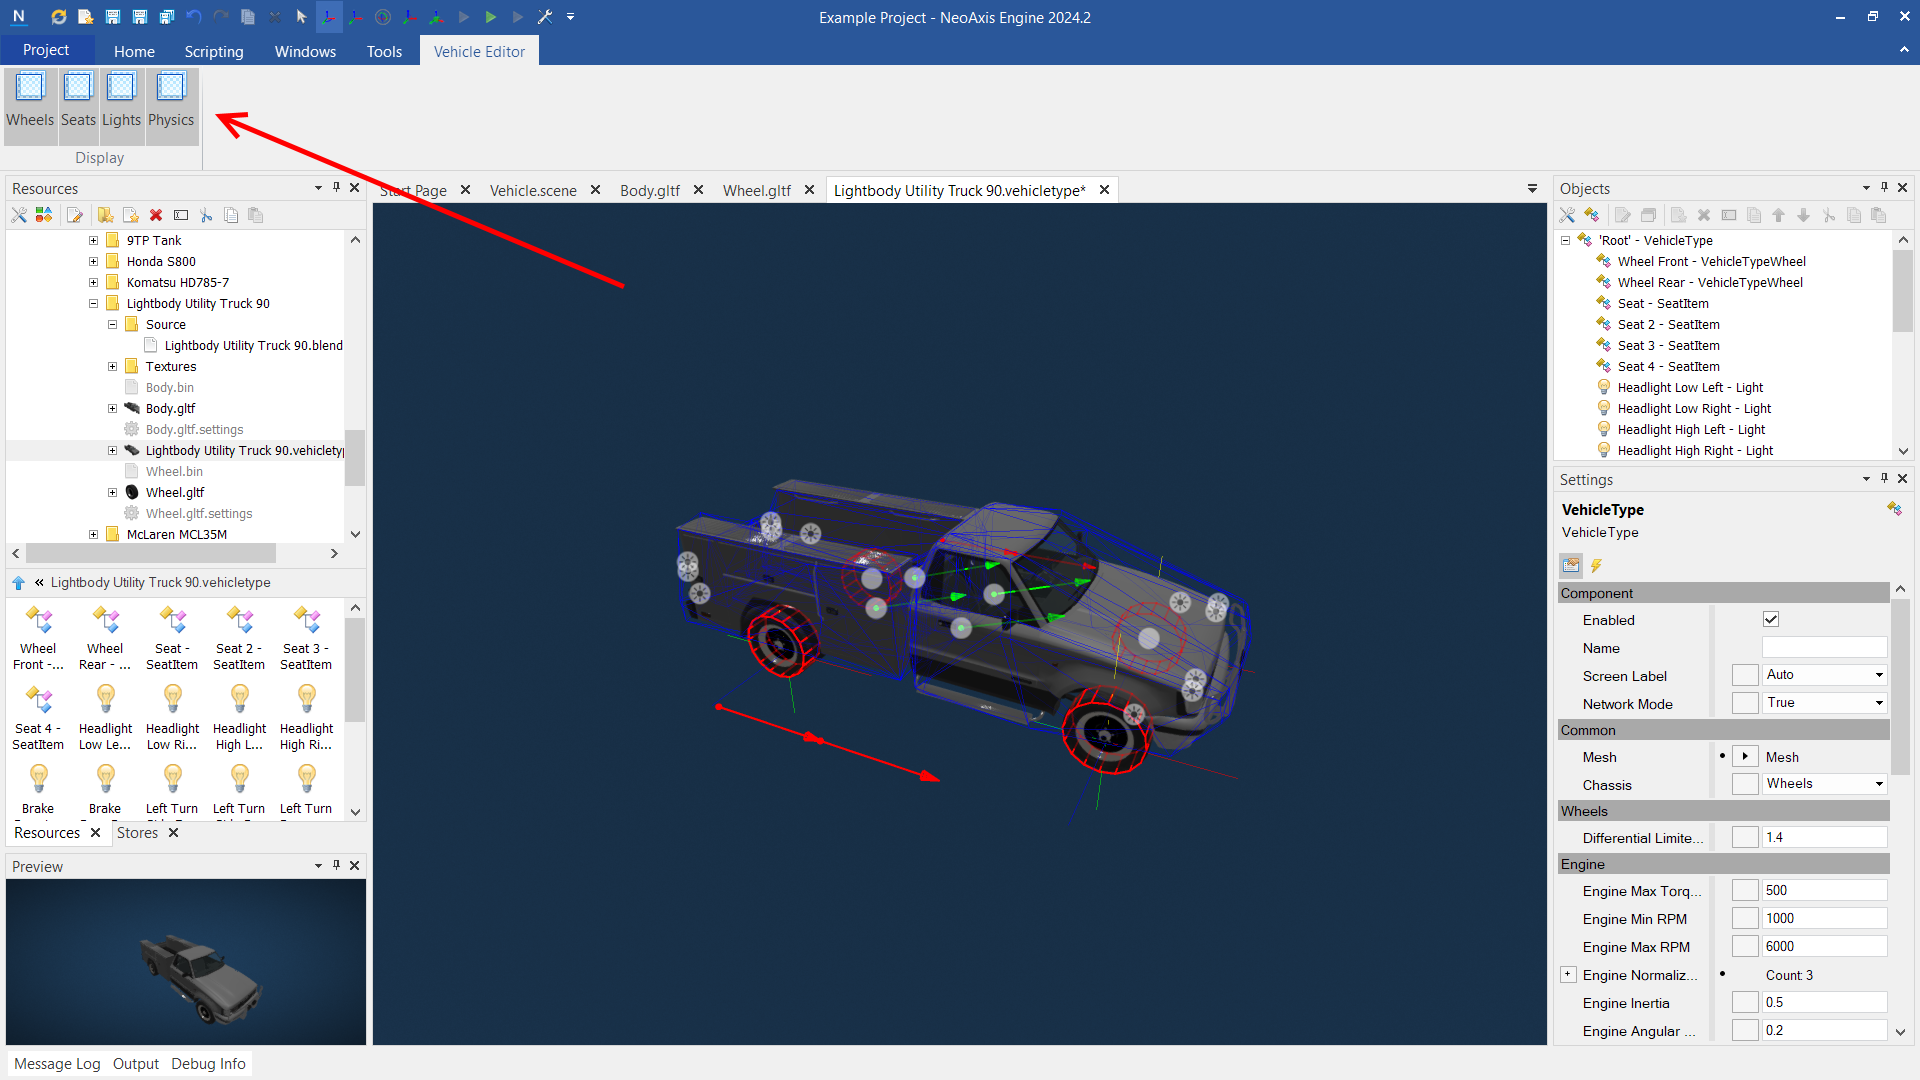
Visualize collision body in the vehicle type
Go to Ribbon -> Vehicle Type -> Activate Physics button.
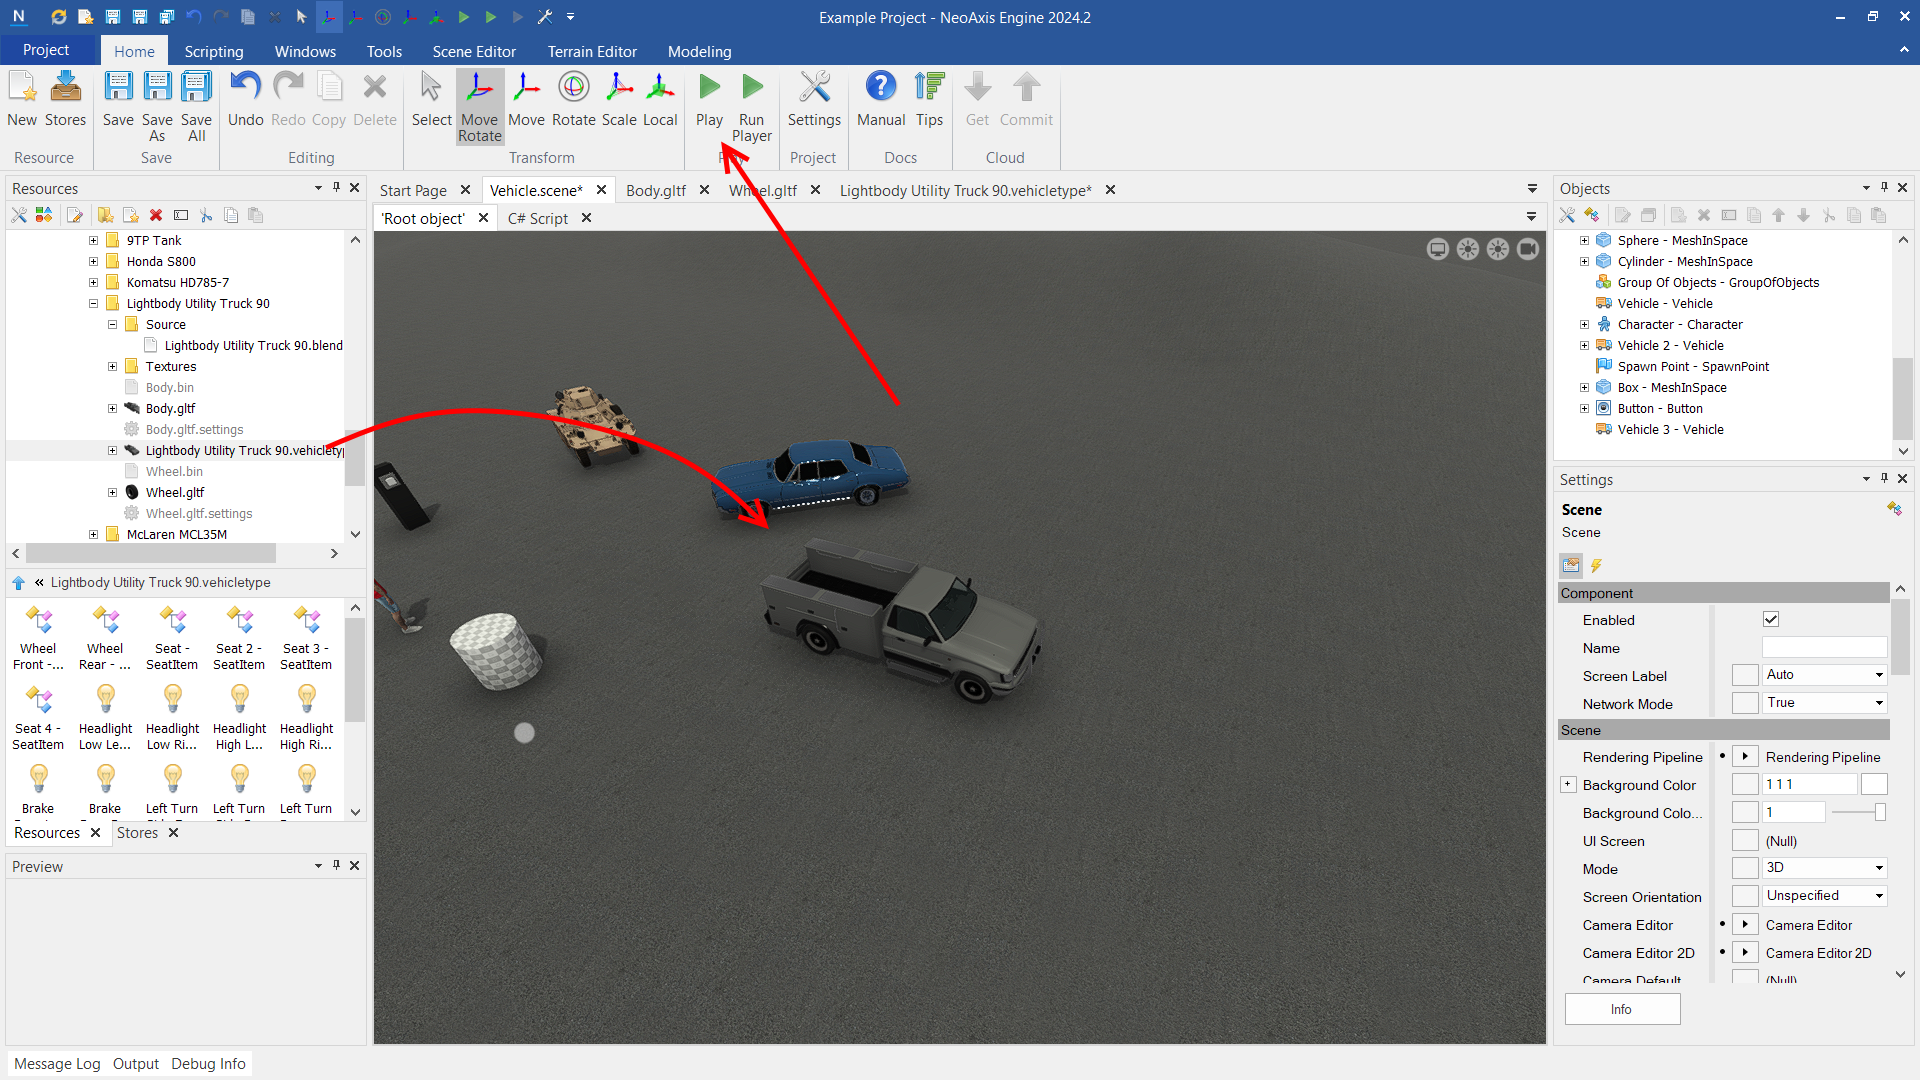
Try to drive
At this point, you can try to run the simulation. Drop the vehicle type file to the scene and click Play button in the ribbon.
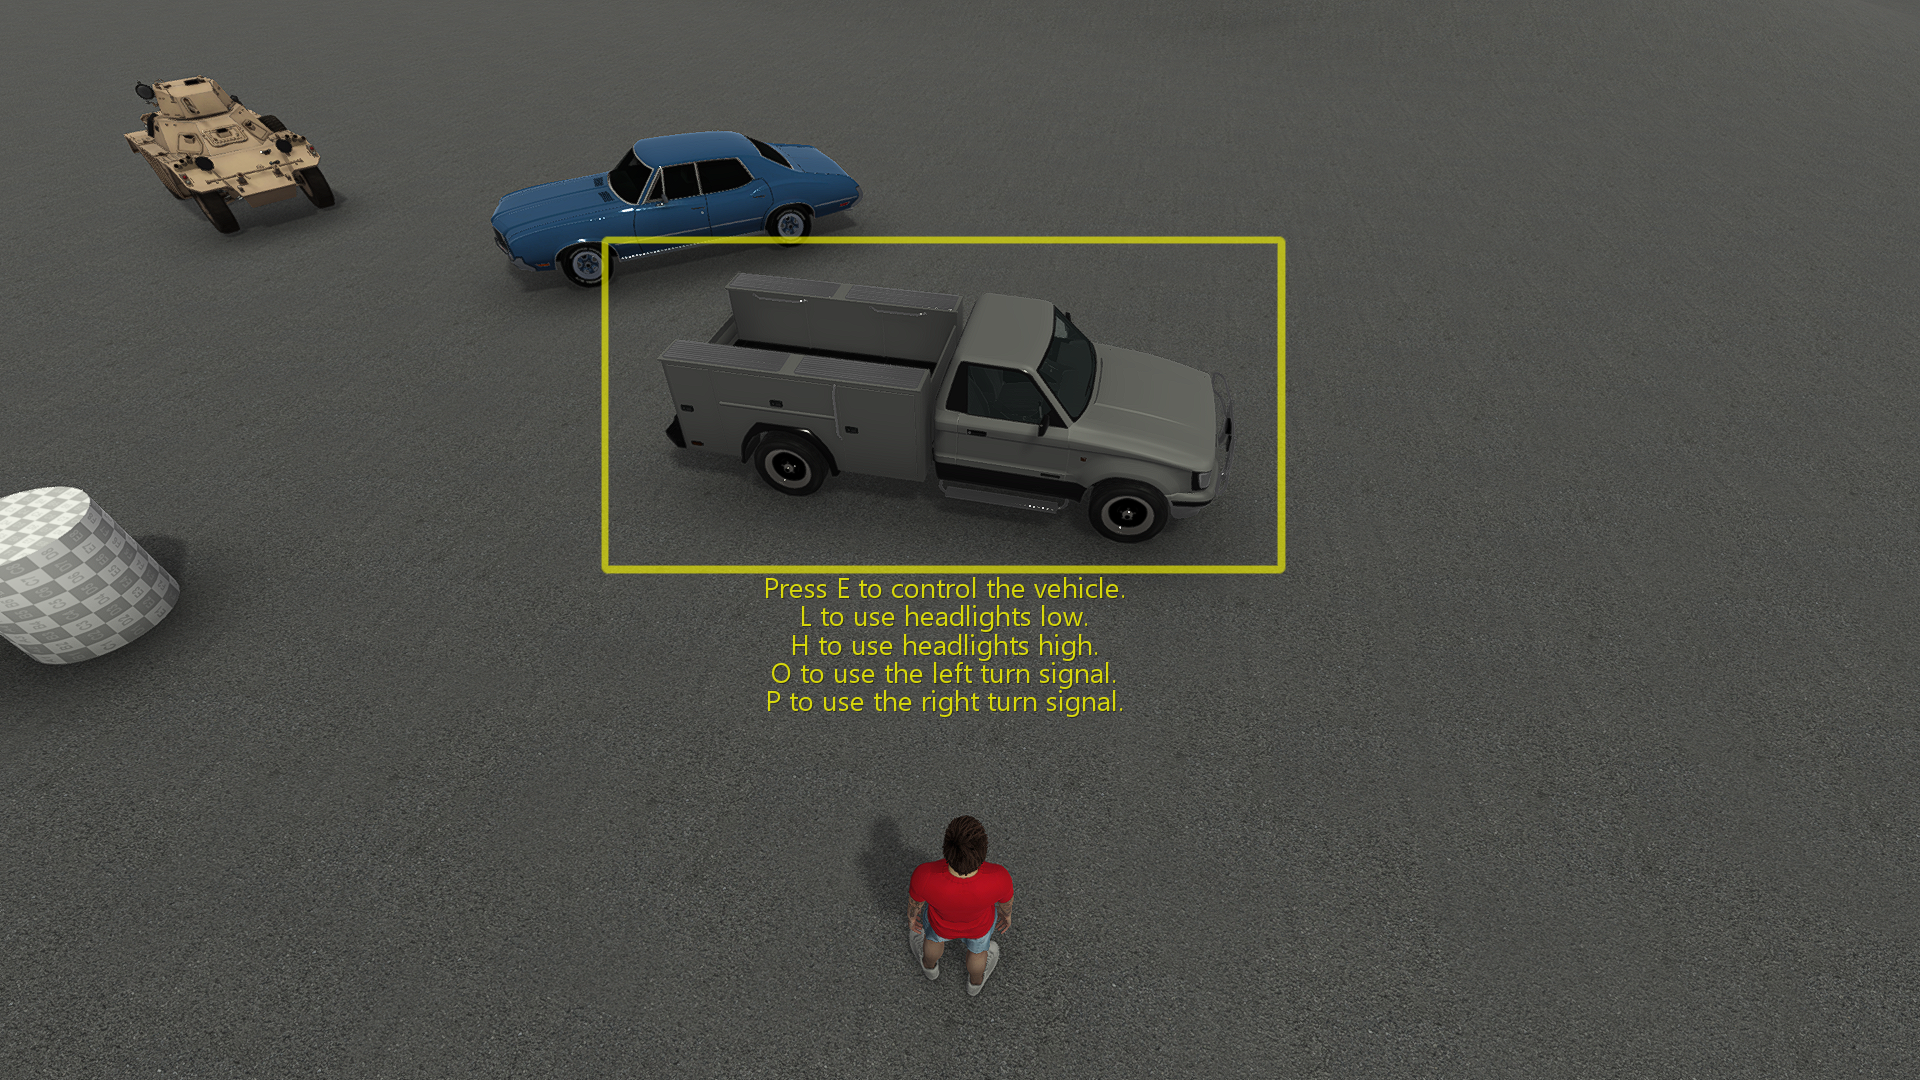
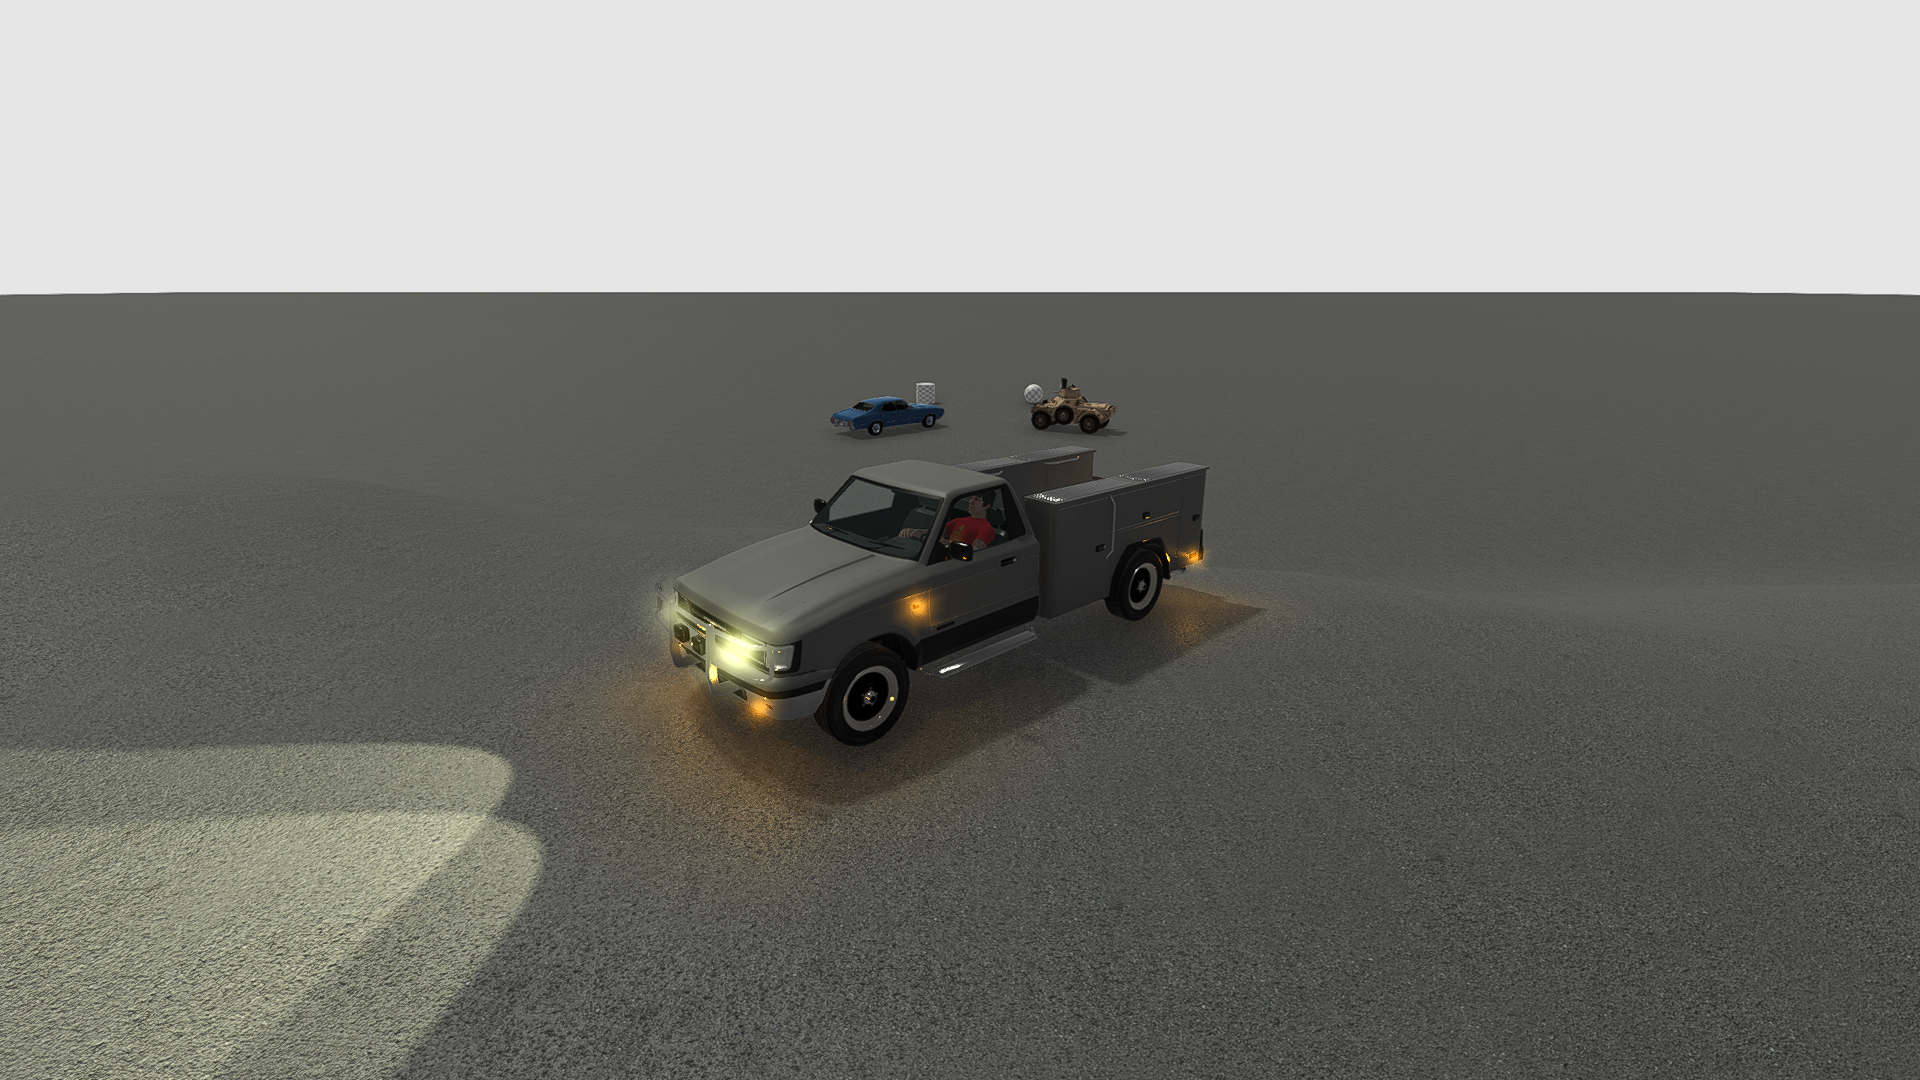
Signal lights
Supported signals:
- Low, high headlights.
- Brake lights.
- Turn signals.
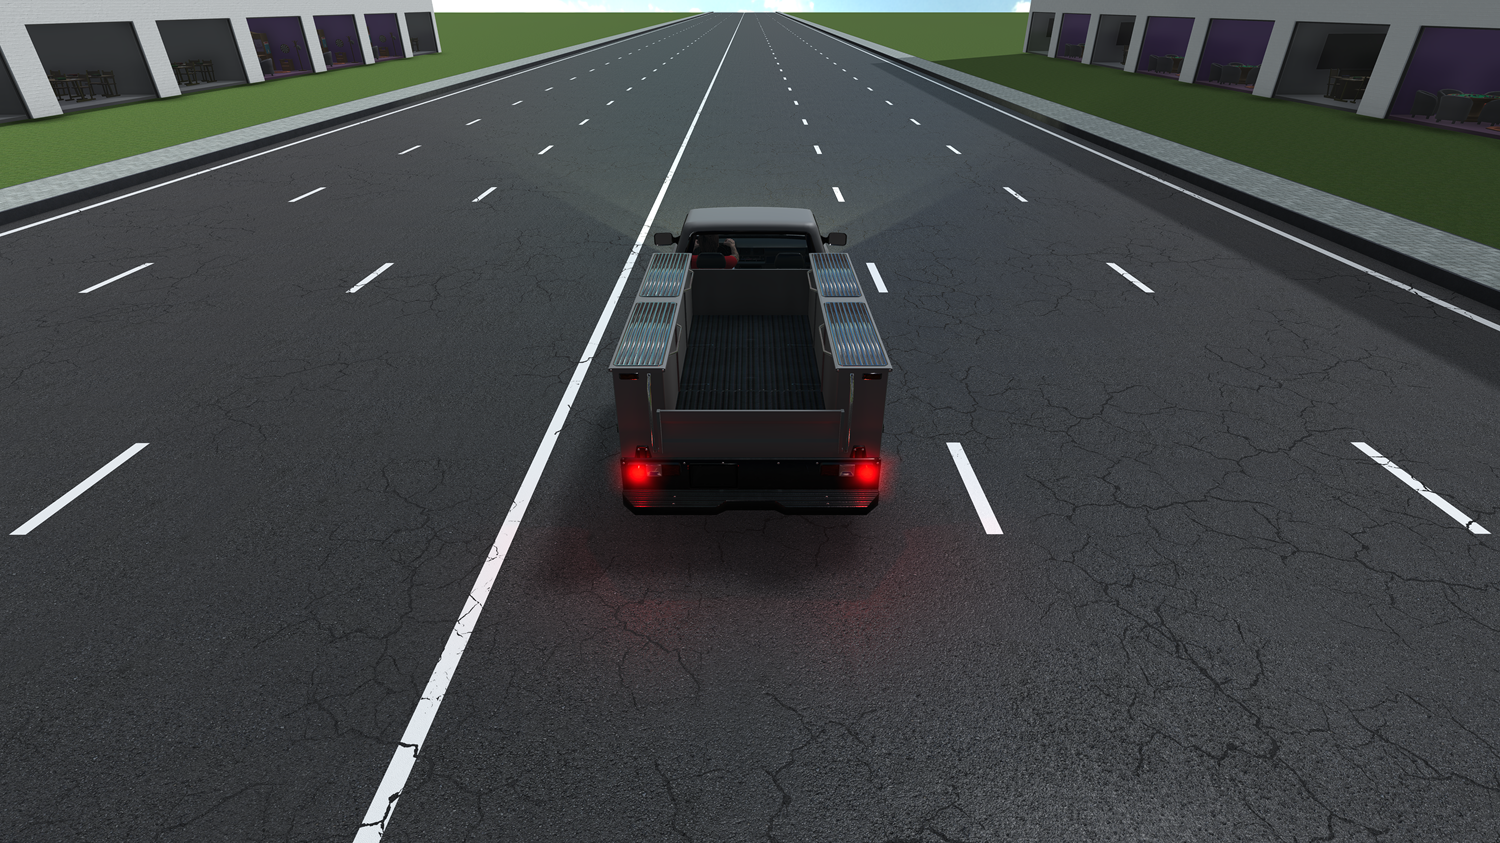
Vehicles support two types of lights visualization. Light masks and real light sources. The using combination of both types give the flexibility.
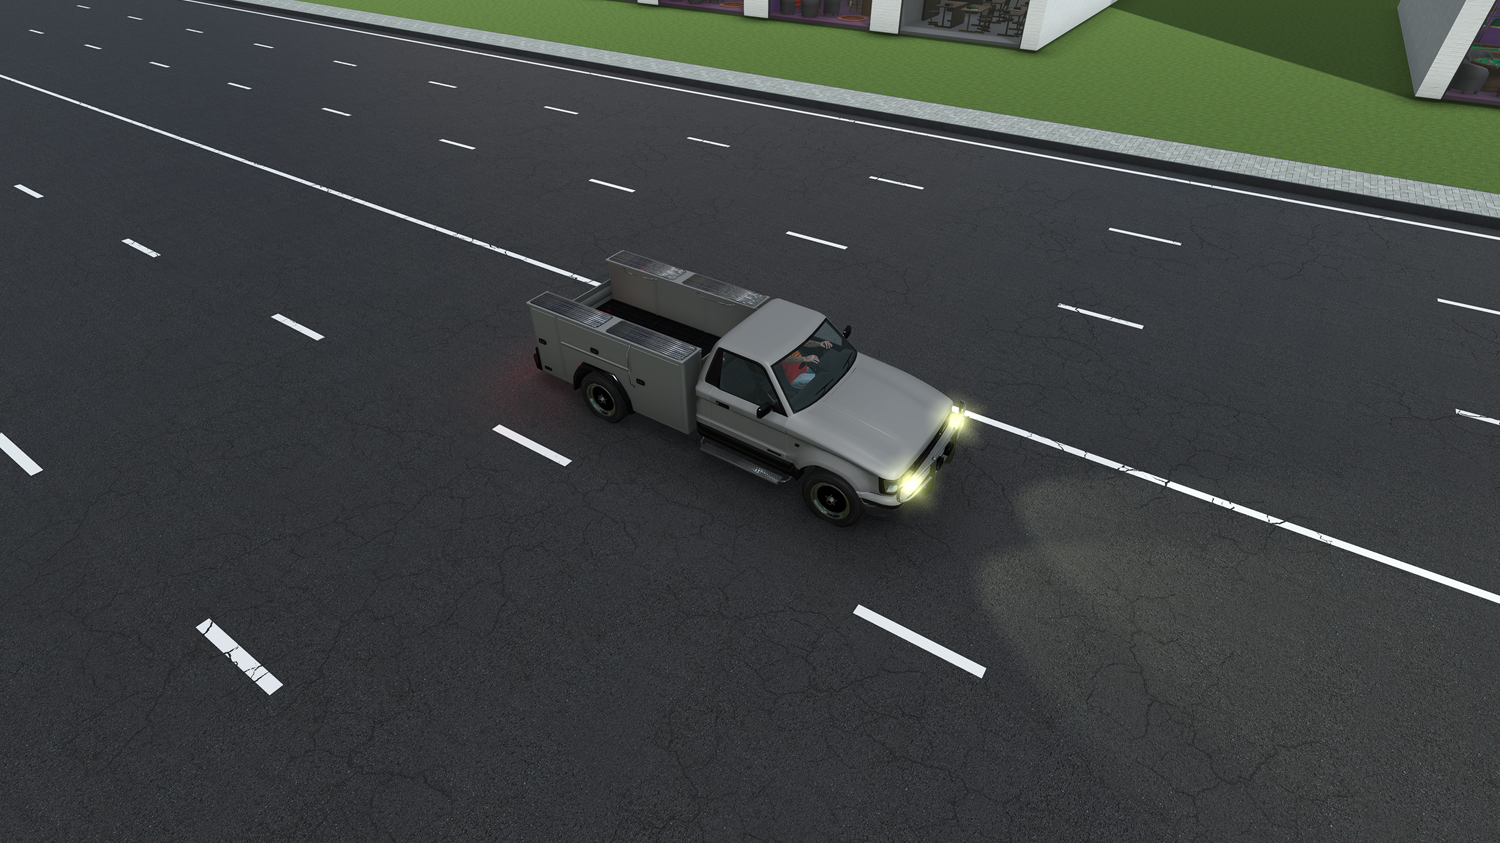
The screenshot from the City Demo:

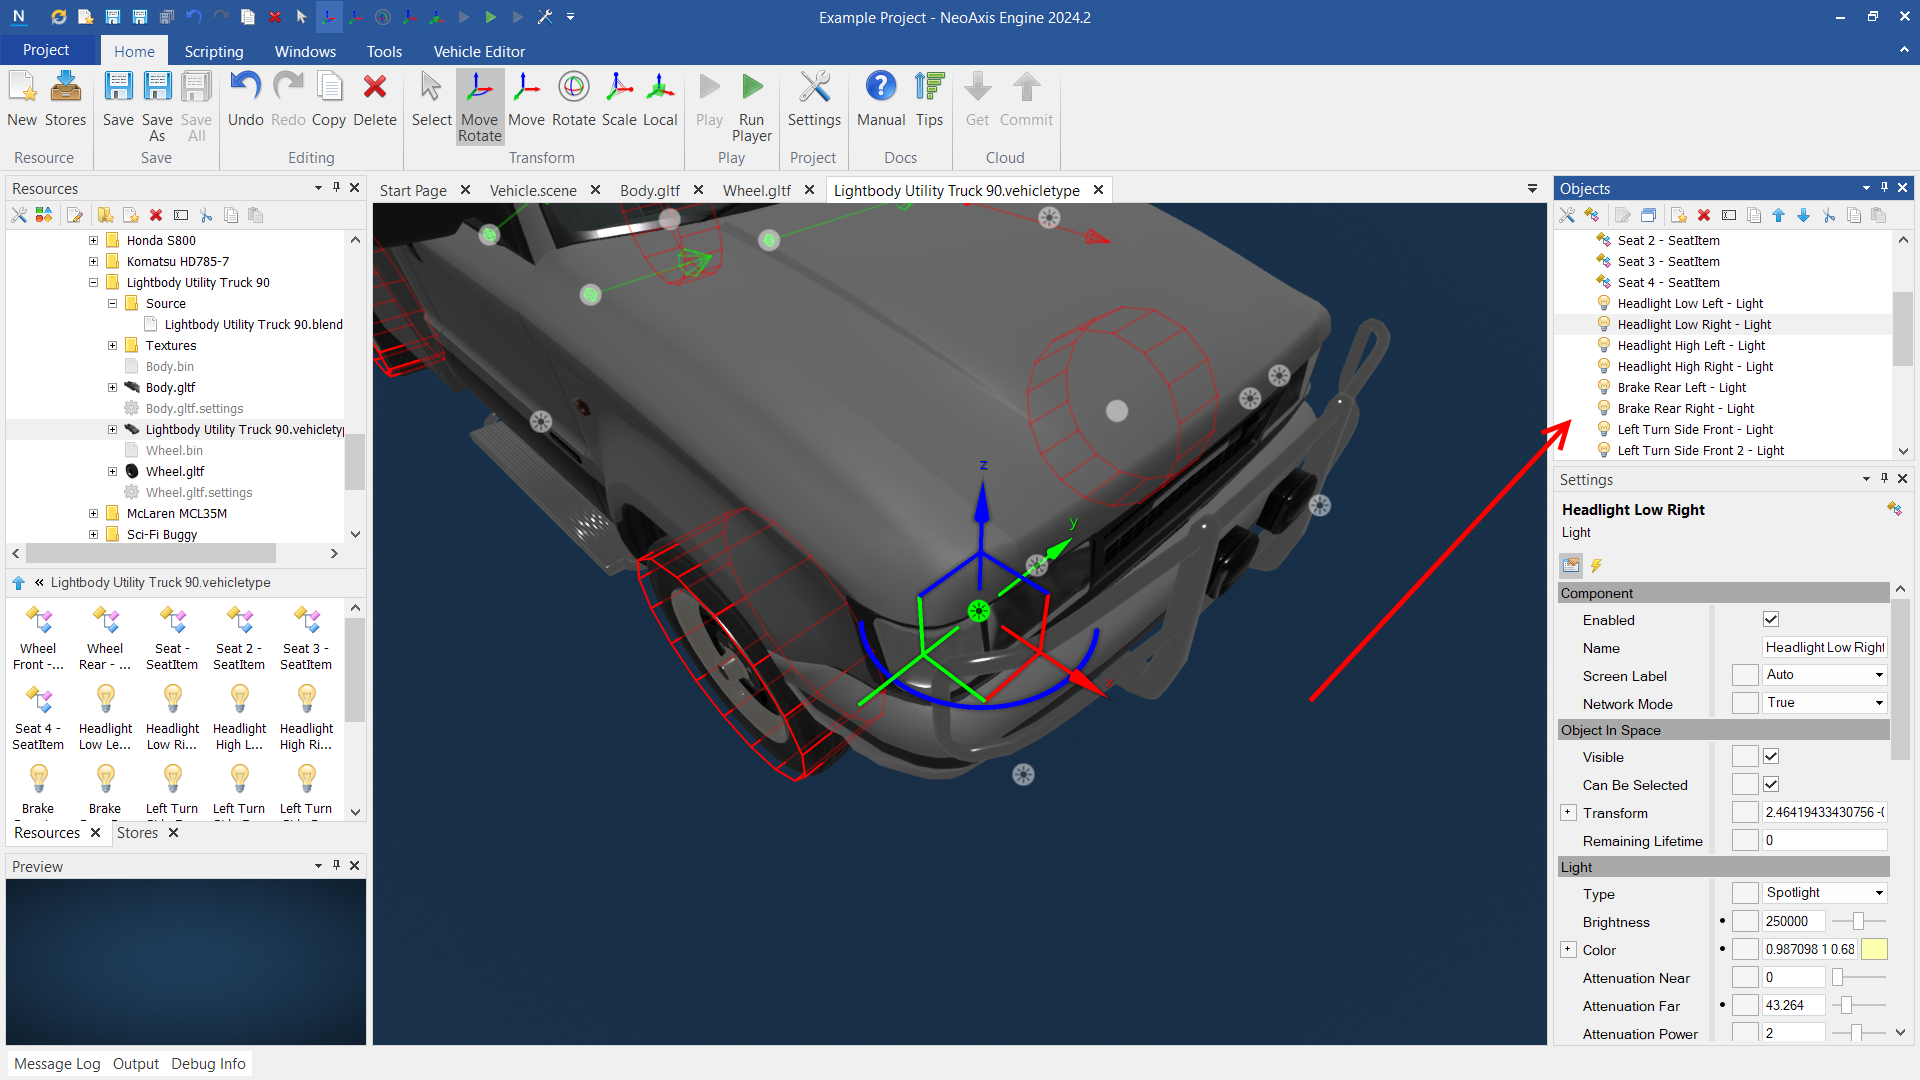
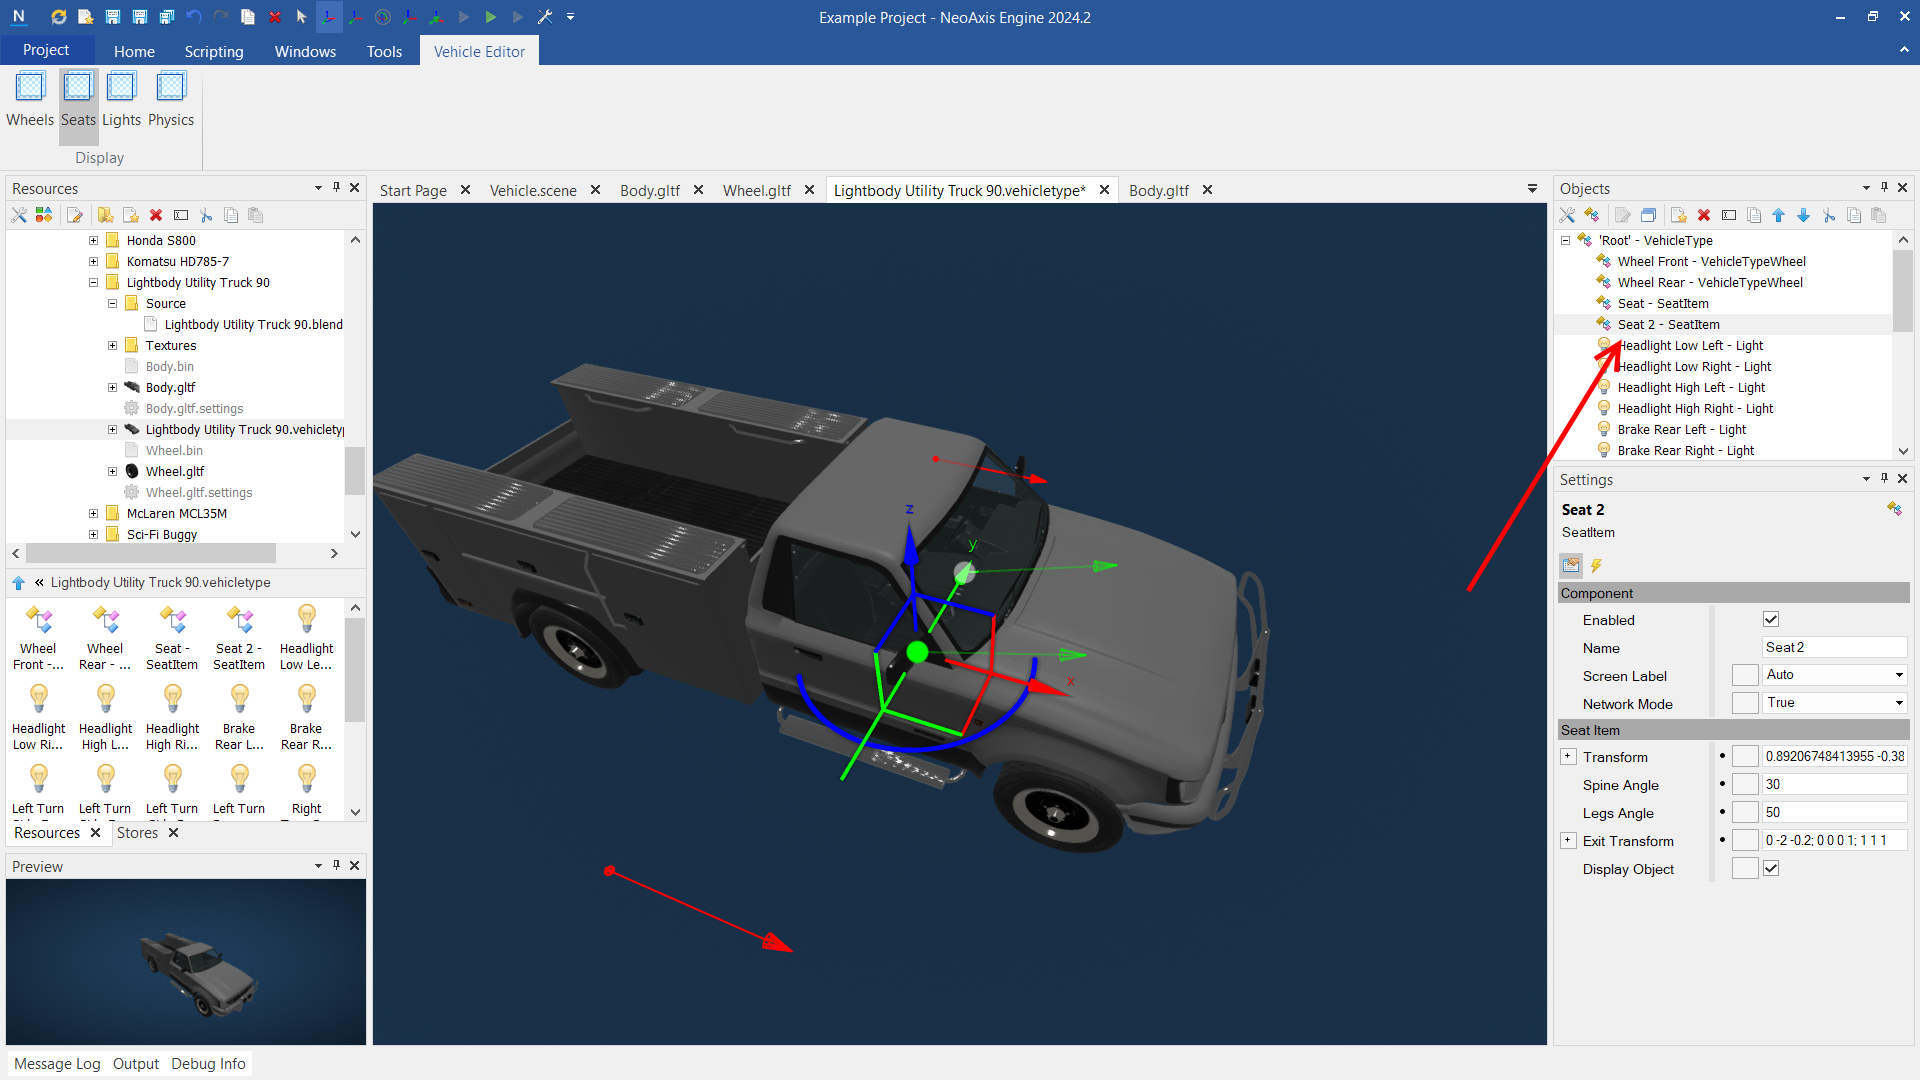
Light sources
The first way is configuring light sources in the vehicle type. Configure default lights or remove it when it is not needed.
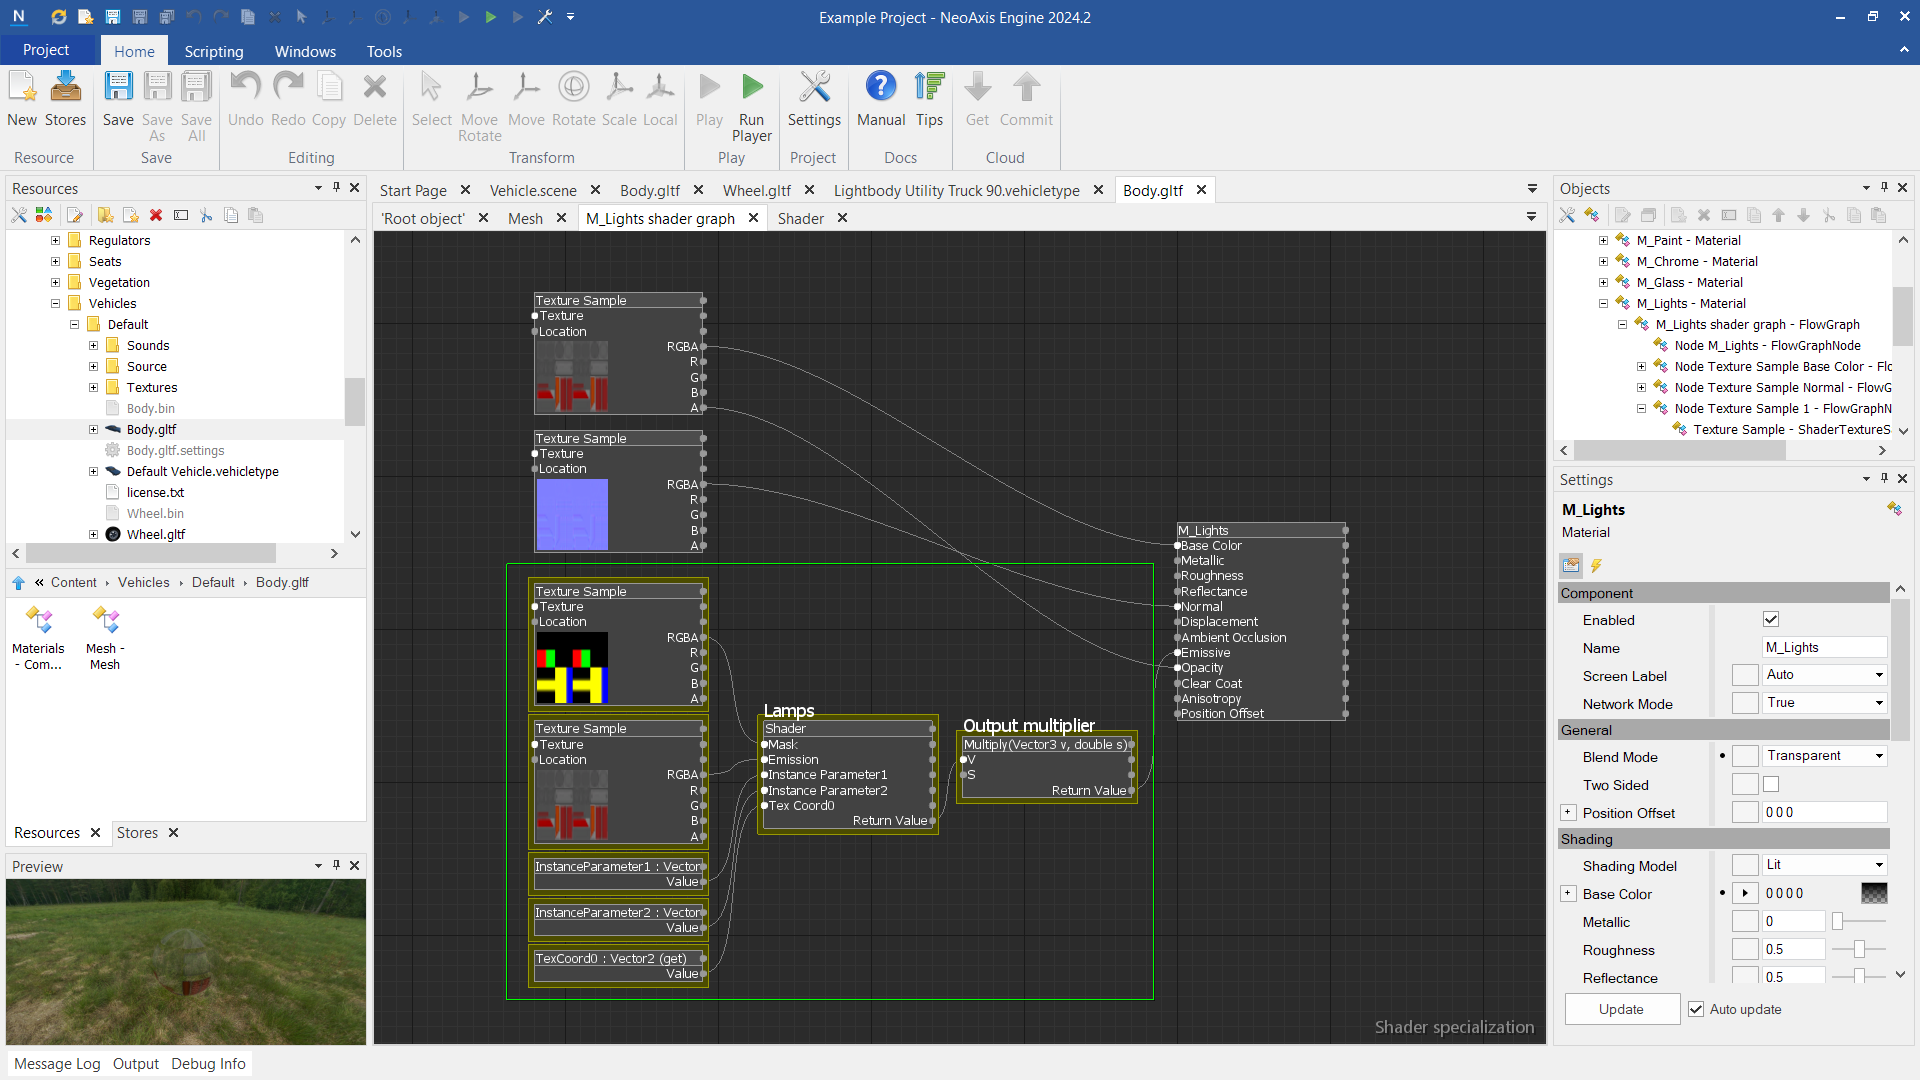
Light masks
The second way to add light is to use emissive materials. This is a way to simulate inter lamp lighting. Default vehicle includes the example of light masks. A shader graph addition and mask textures are required.
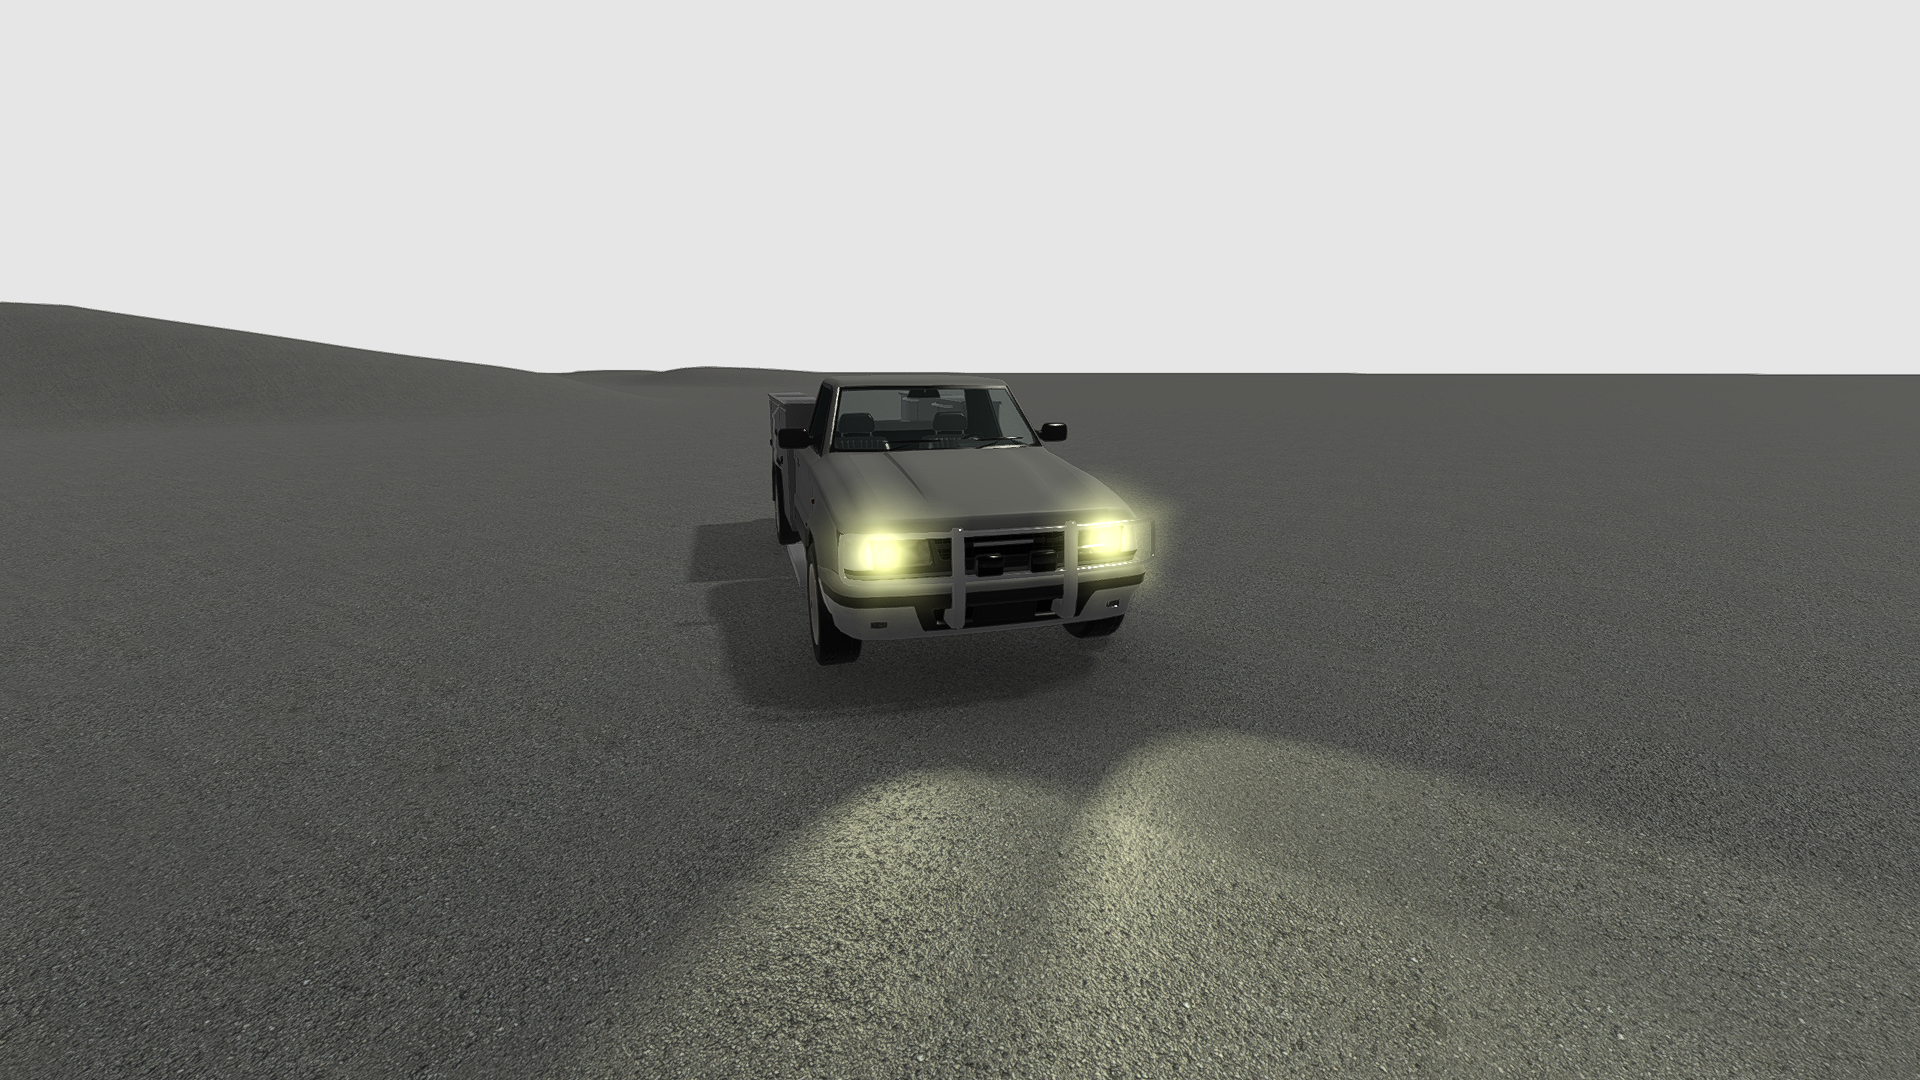
Light flares for light sources
By default, the headlights uses light flares to simulate an aura around the light source. Instead of making light masks, it may be an easier way to configure flares.
Example how it made for the truck:
Seats
Seats are helpers for the driver position and passengers.
- The seats are support configuring by means of the transform tool.
- Configure spine, legs position.
- Configure exit position.
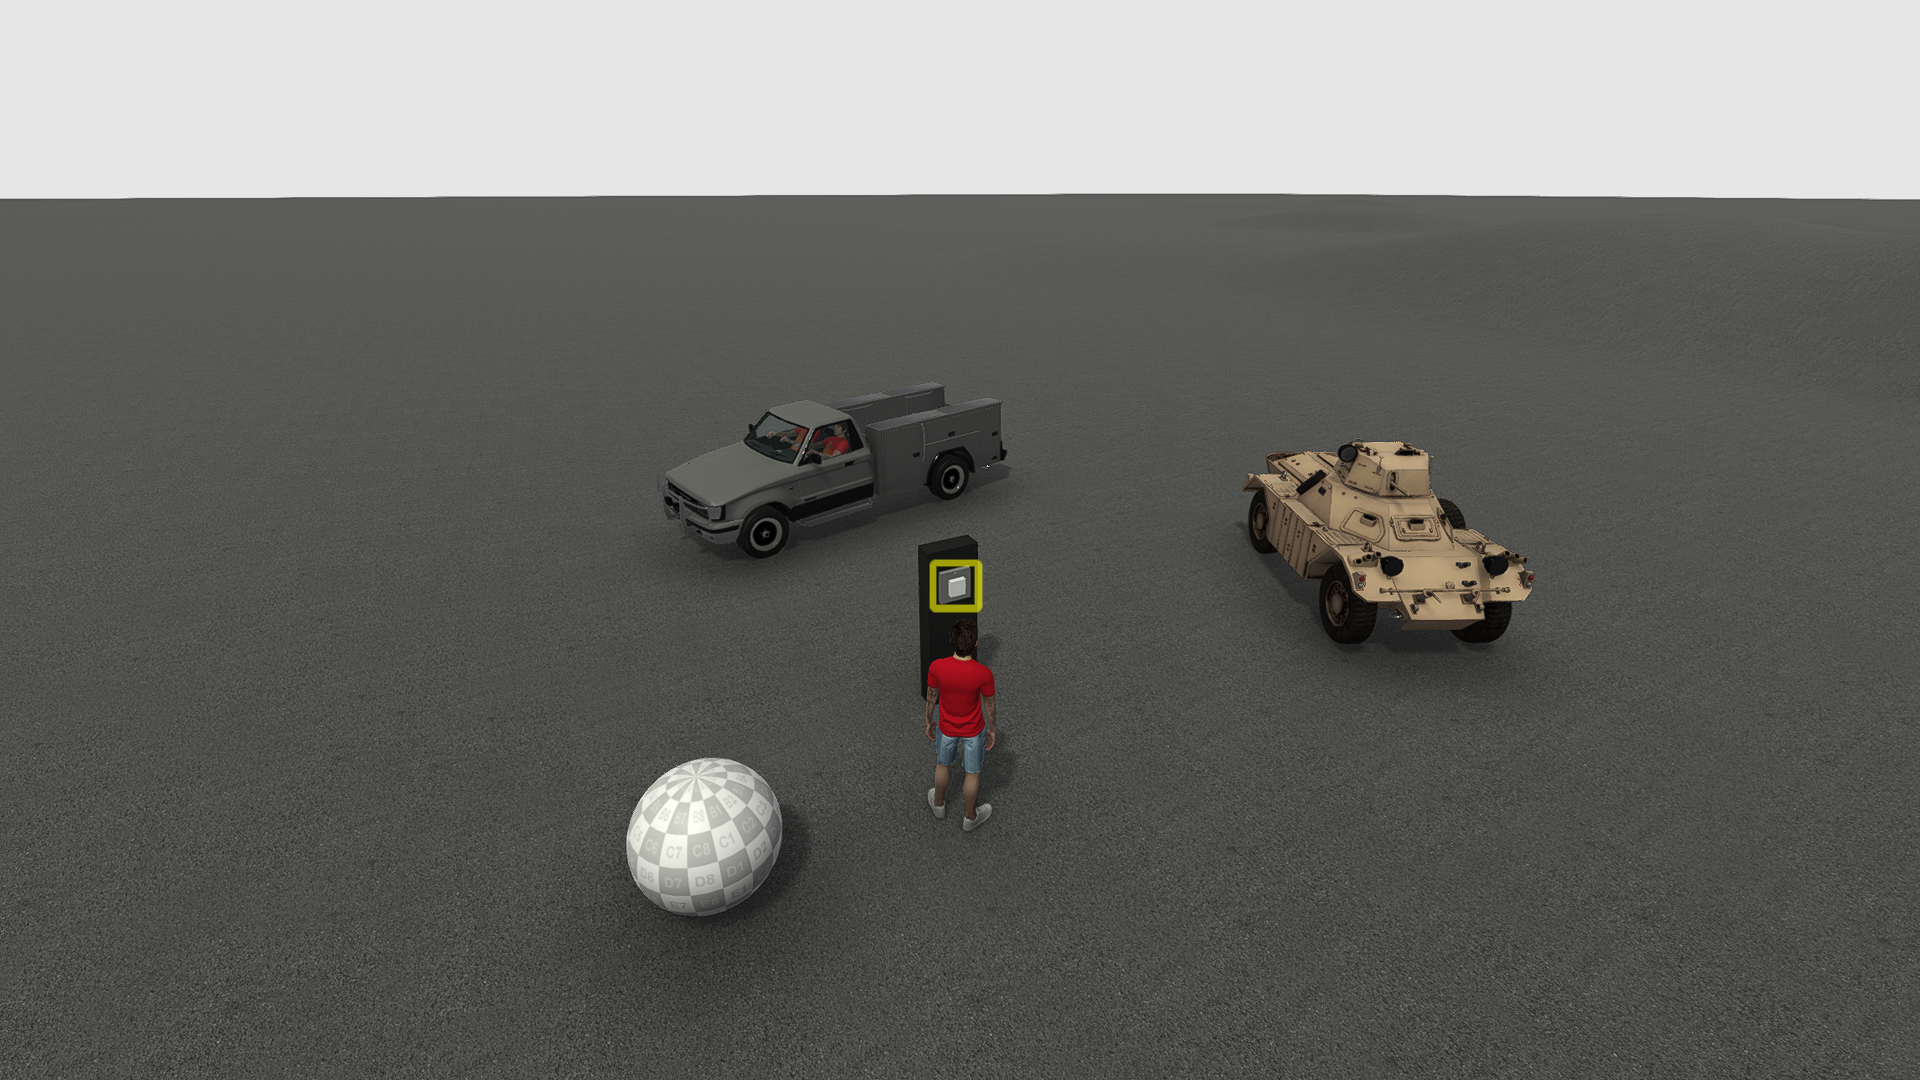
Use scene "Assets\Samples\Starter Content\Scenes\Vehicle.scene" to test the seats. Use the button in the scene, the script will add characters on all seats.
Detailed calibration
Calibrate center of mass of the body. If your car rolls over too quickly when turning, the center of mass may be the cause. Go to "Collision Definition" of the body, change "Center Of Mass Offset" to "0 0 -0.3" or something like this.
The sound of the collision. To add sound when a vehicle collided with other objects, go to "Collision Definition" of the body, configure "Collision Sound" property.
Wheel steering. Select front wheel, configure "Max Steering Angle", "Steering Time".
Motor and gears. Engine, Transmission properties of the vehicle type.
The sounds of the motor and gear switching. The Sound category of the vehicle type. The default car sounds are configured by default. Vehicle "Ferret Scout Car" includes truck sounds "Assets\Content\Vehicles\NeoAxis\Ferret Scout Car\Sounds".
Use vehicles from the Store as examples
https://www.neoaxis.com/neox/catalog/#content
- Tank. Tracks chassis.
- This truck. Brakes and turn signals with flares. Copy-paste it to your model via the Objects window.